FarmBot OS
Step-by-step instructions for installing FarmBot OS. Download the latest FarmBot OS .img file at os.farm.bot.
The Raspberry Pi runs a custom operating system named FarmBot OS, allowing FarmBot to:
- Communicate with the web application over WiFi or ethernet so that it can synchronize (download) sequences, regimens, farm designs, events, and more; upload logs and sensor data; and accept real-time commands.
- Communicate with the Farmduino to send G and F commands and receive sensor and encoder data.
- Take photos with a USB or Raspberry Pi camera, and upload the photos to the web application.
- Get configured over WiFi, mitigating the need to plug in a mouse, keyboard, or screen.
Step 1: Download FarmBot OS
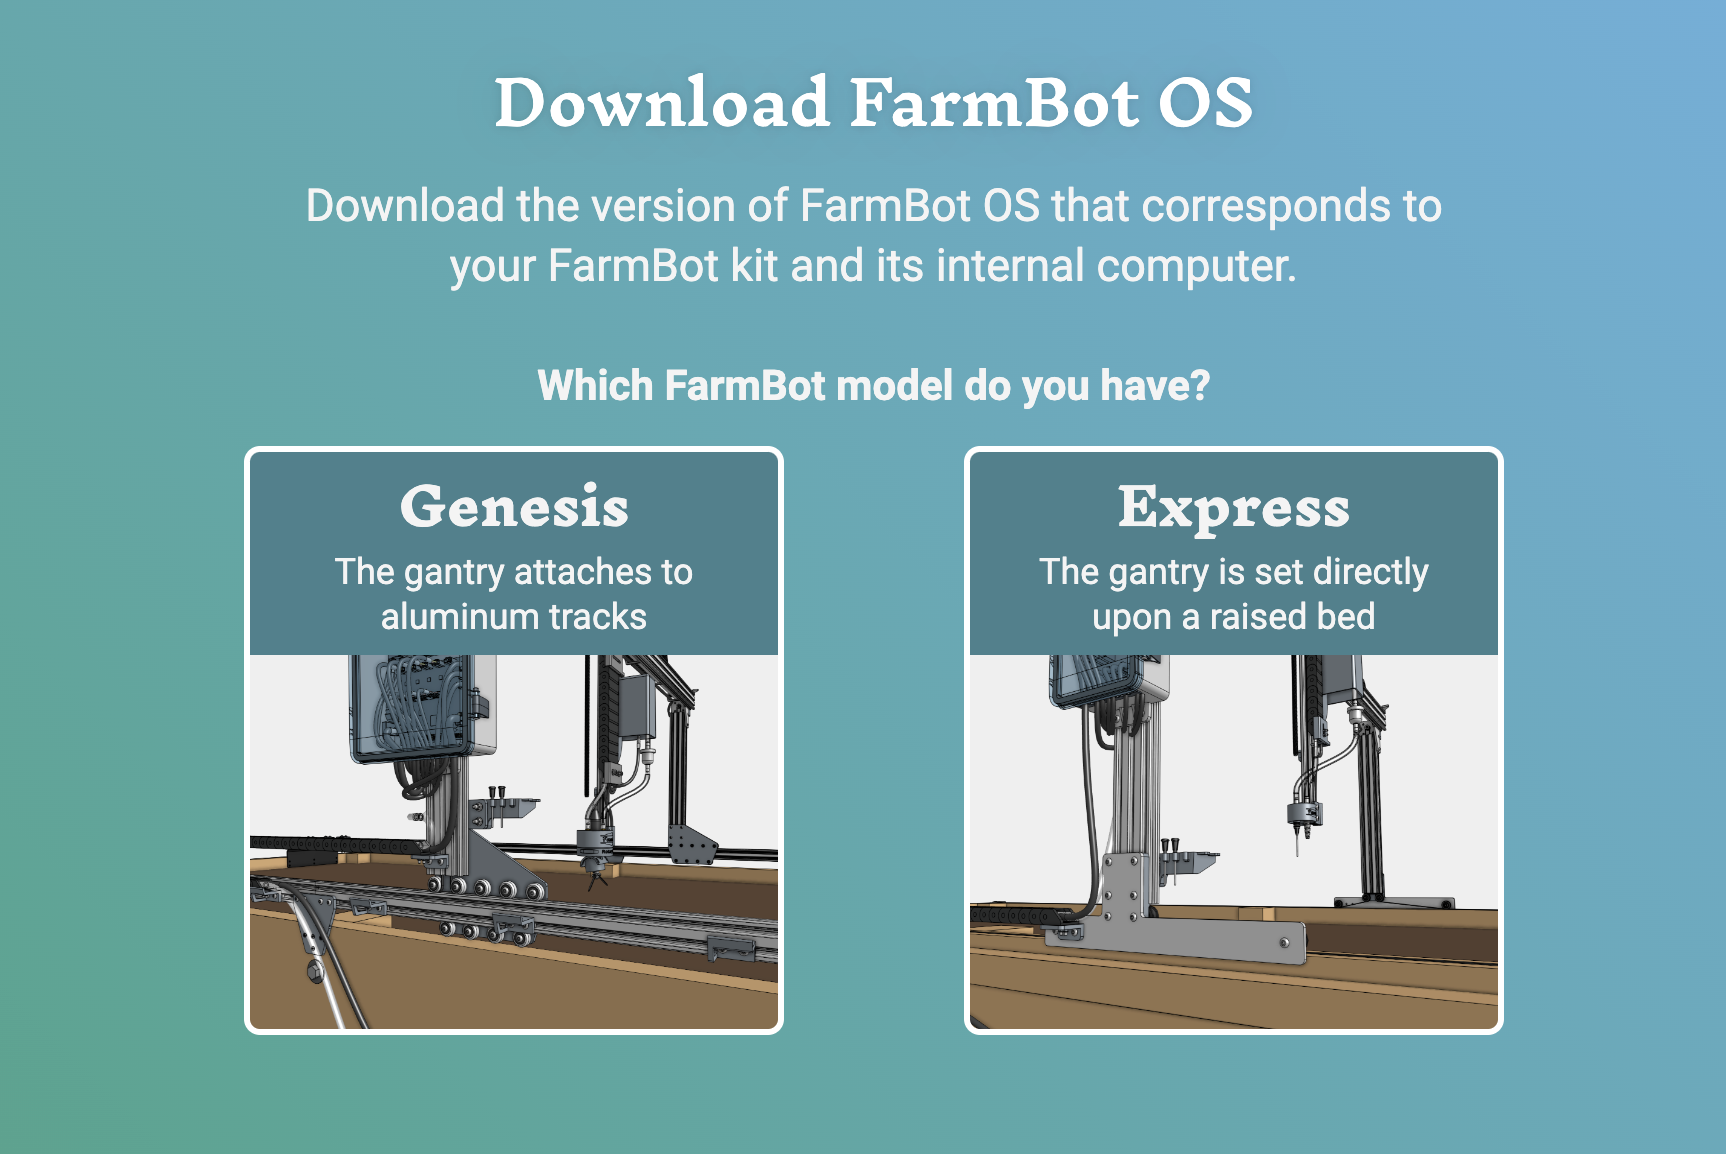
Using a desktop computer or laptop, go to os.farm.bot to download the latest FarmBot OS .img file according to your FarmBot kit and it’s internal computer.
Step 2. Write FarmBot OS onto the microSD card
To write FarmBot OS onto the microSD card, you must use a special .img writing tool called Raspberry Pi Imager.
Drag and drop will not work
Using your computer’s default file browser to drag and drop or copy and paste the FarmBot OS .img file onto the microSD card will not work. You must use Raspberry Pi Imager.
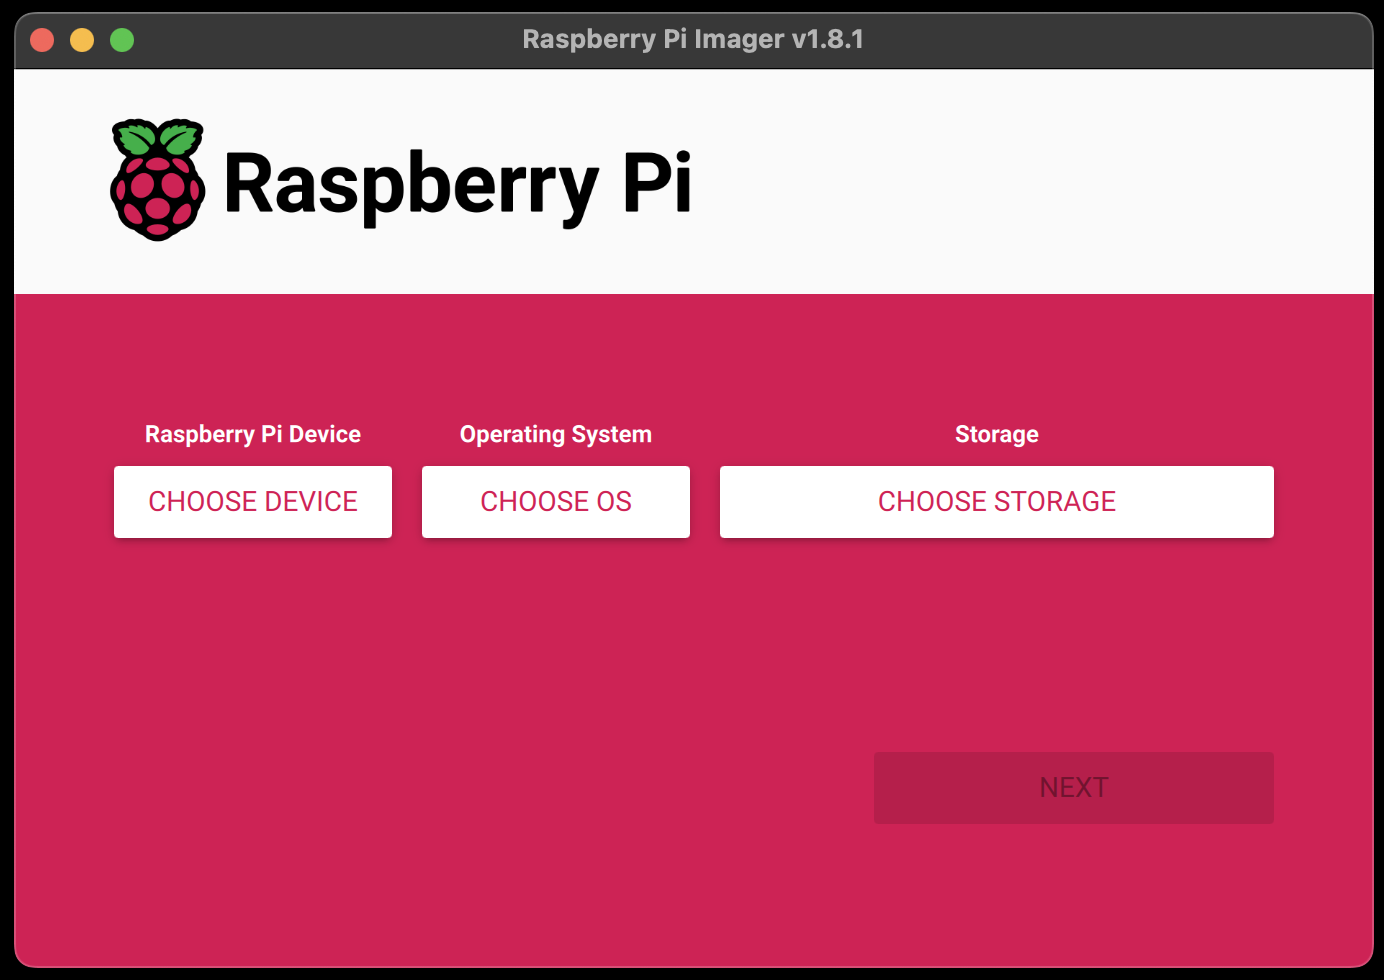
Once you have Raspberry Pi Imager installed, connect the microSD card to your computer using a card reader. You may need to use the microSD card to SD card adapter included with your kit.
Open up the Raspberry Pi Imager program and make the following selections:
- Raspberry Pi Device - You do not need to click the
CHOOSE DEVICEbutton nor make a selection. Your device has already been determined by the version of FarmBot OS you downloaded. - Operating System - Click
CHOOSE OSand then scroll to the bottom of the popup and select Use custom Select a custom .img file from your computer. Then select the FarmBot OS.imgfile you downloaded in Step 1.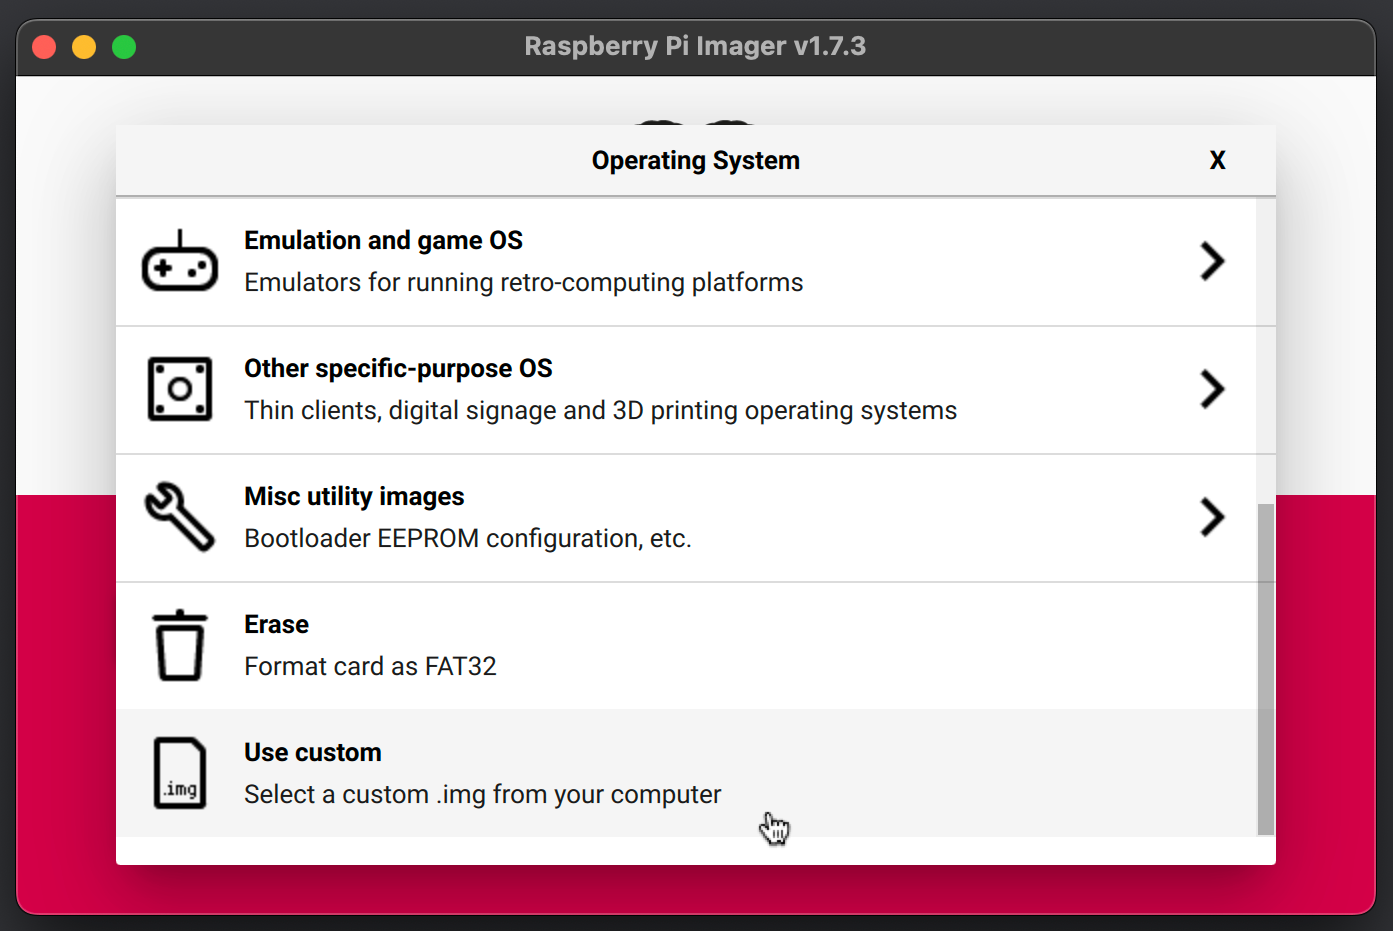
- Storage - Click
CHOOSE STORAGEand then select the microSD card (it should show up as a7.9 GBoption).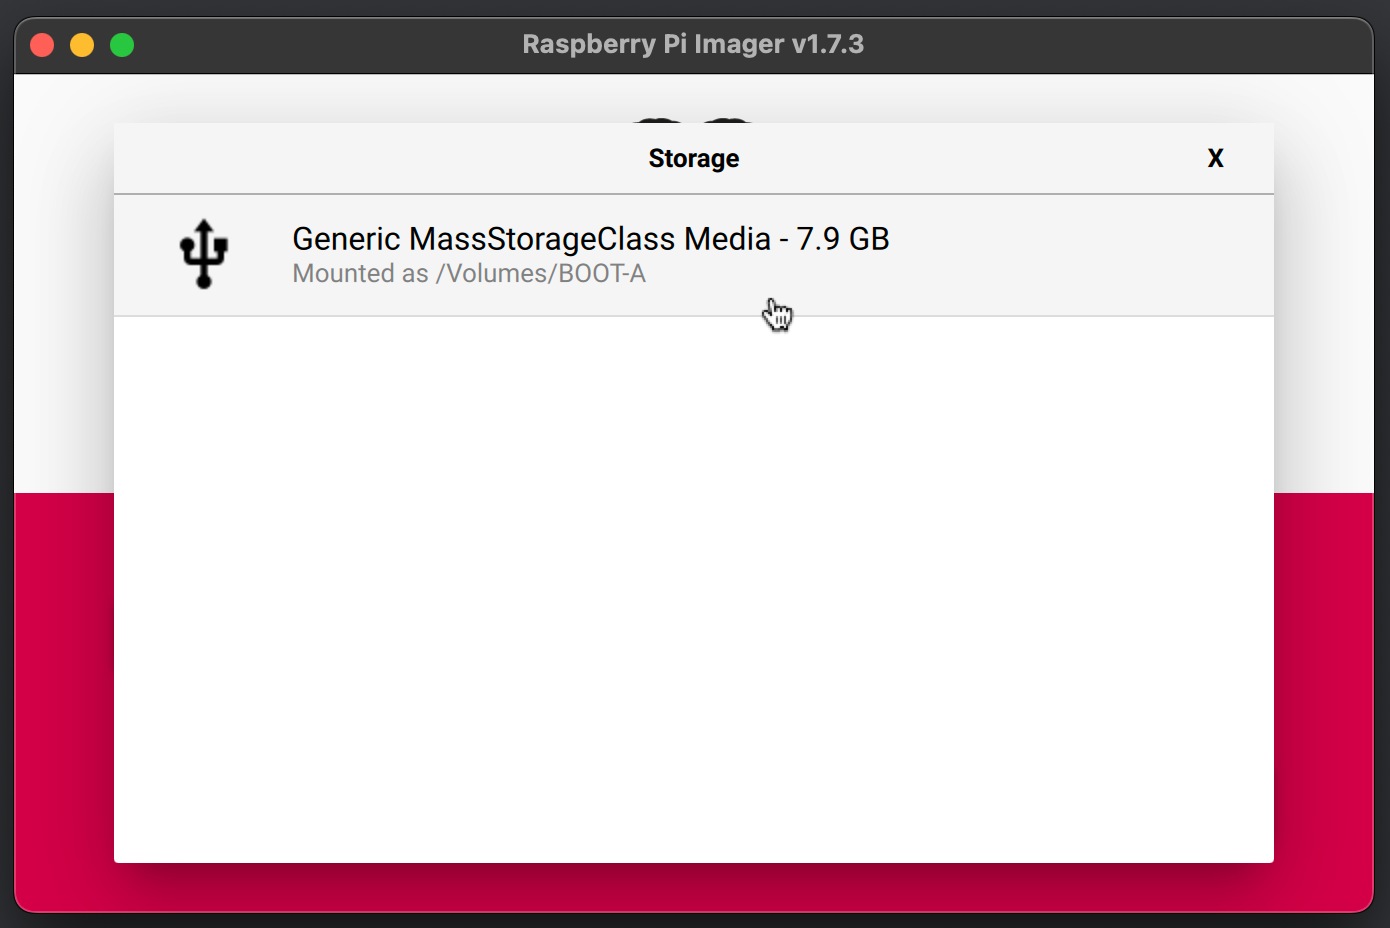
Do not use large capacity microSD cards
FarmBot OS will not work with microSD cards larger than 32GB in capacity. Please use the microSD card provided with your FarmBot kit.
Click NEXT. You will then be prompted if you would like to use OS customization settings. Select NO.
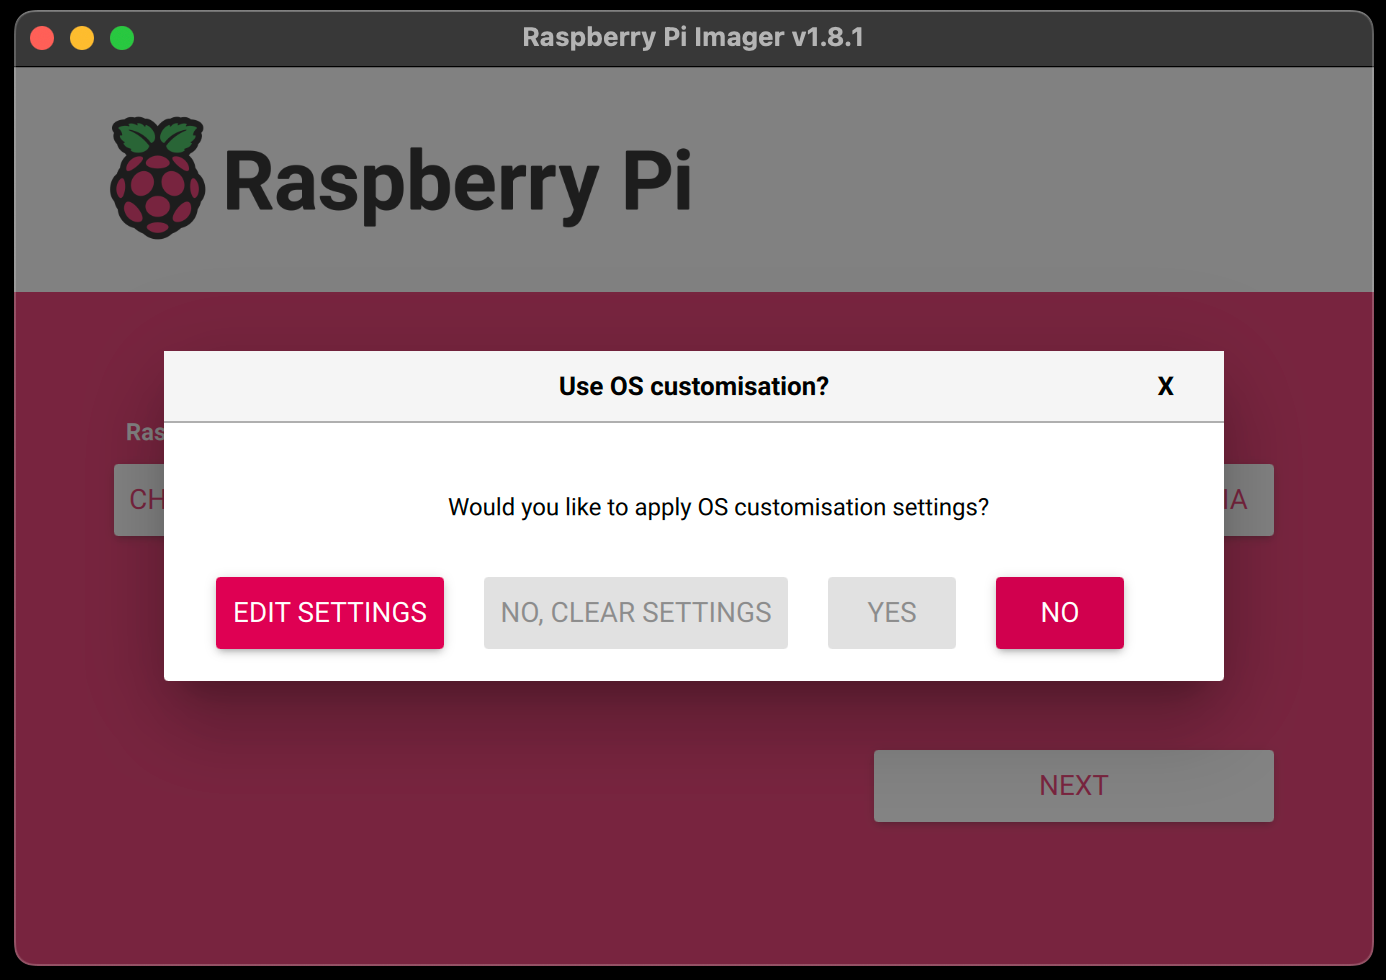
A final warning popup will be shown. Proceed to write the OS to the microSD card. Your computer may ask you for permission to perform this action. Once permission is granted, Raspberry Pi Imager will write FarmBot OS to the microSD card and then verify the installation. The process will take approximately 1 minute.
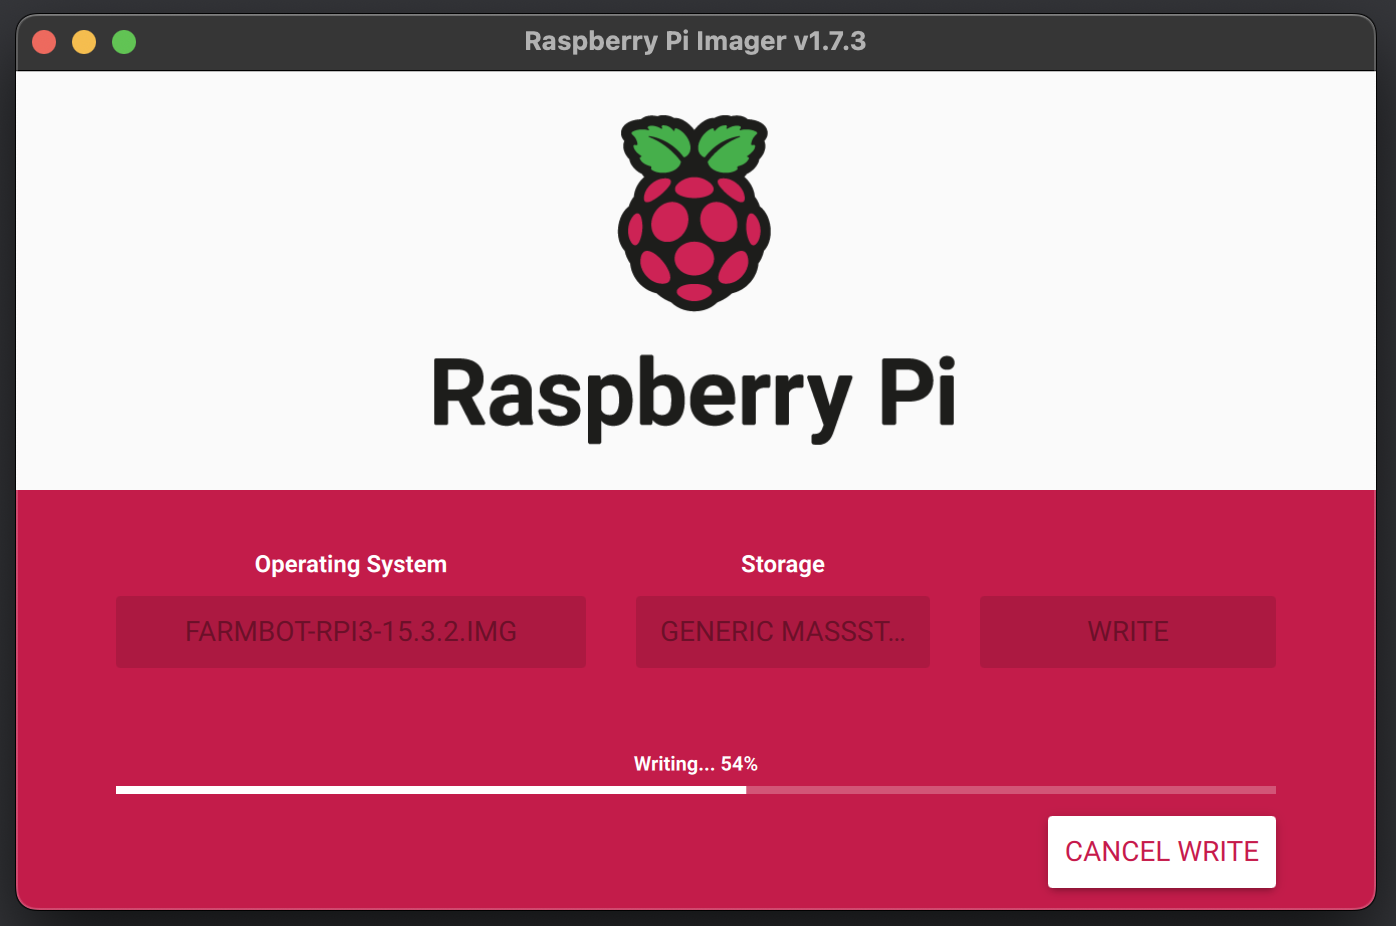
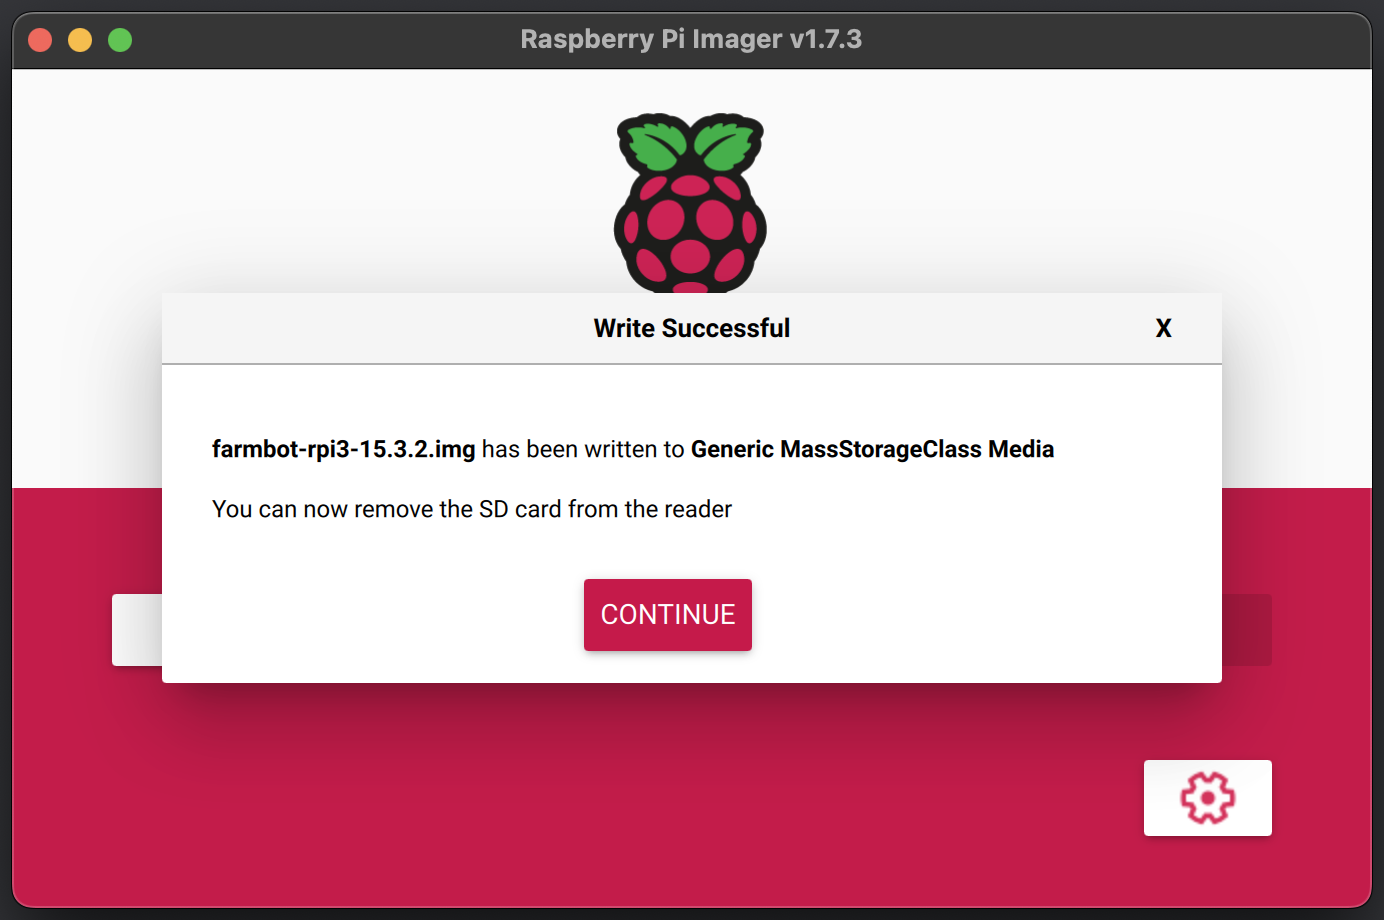
After completing, you may remove the microSD card from your computer and close Raspberry Pi Imager.
Step 3. Insert the microSD card into the Raspberry Pi
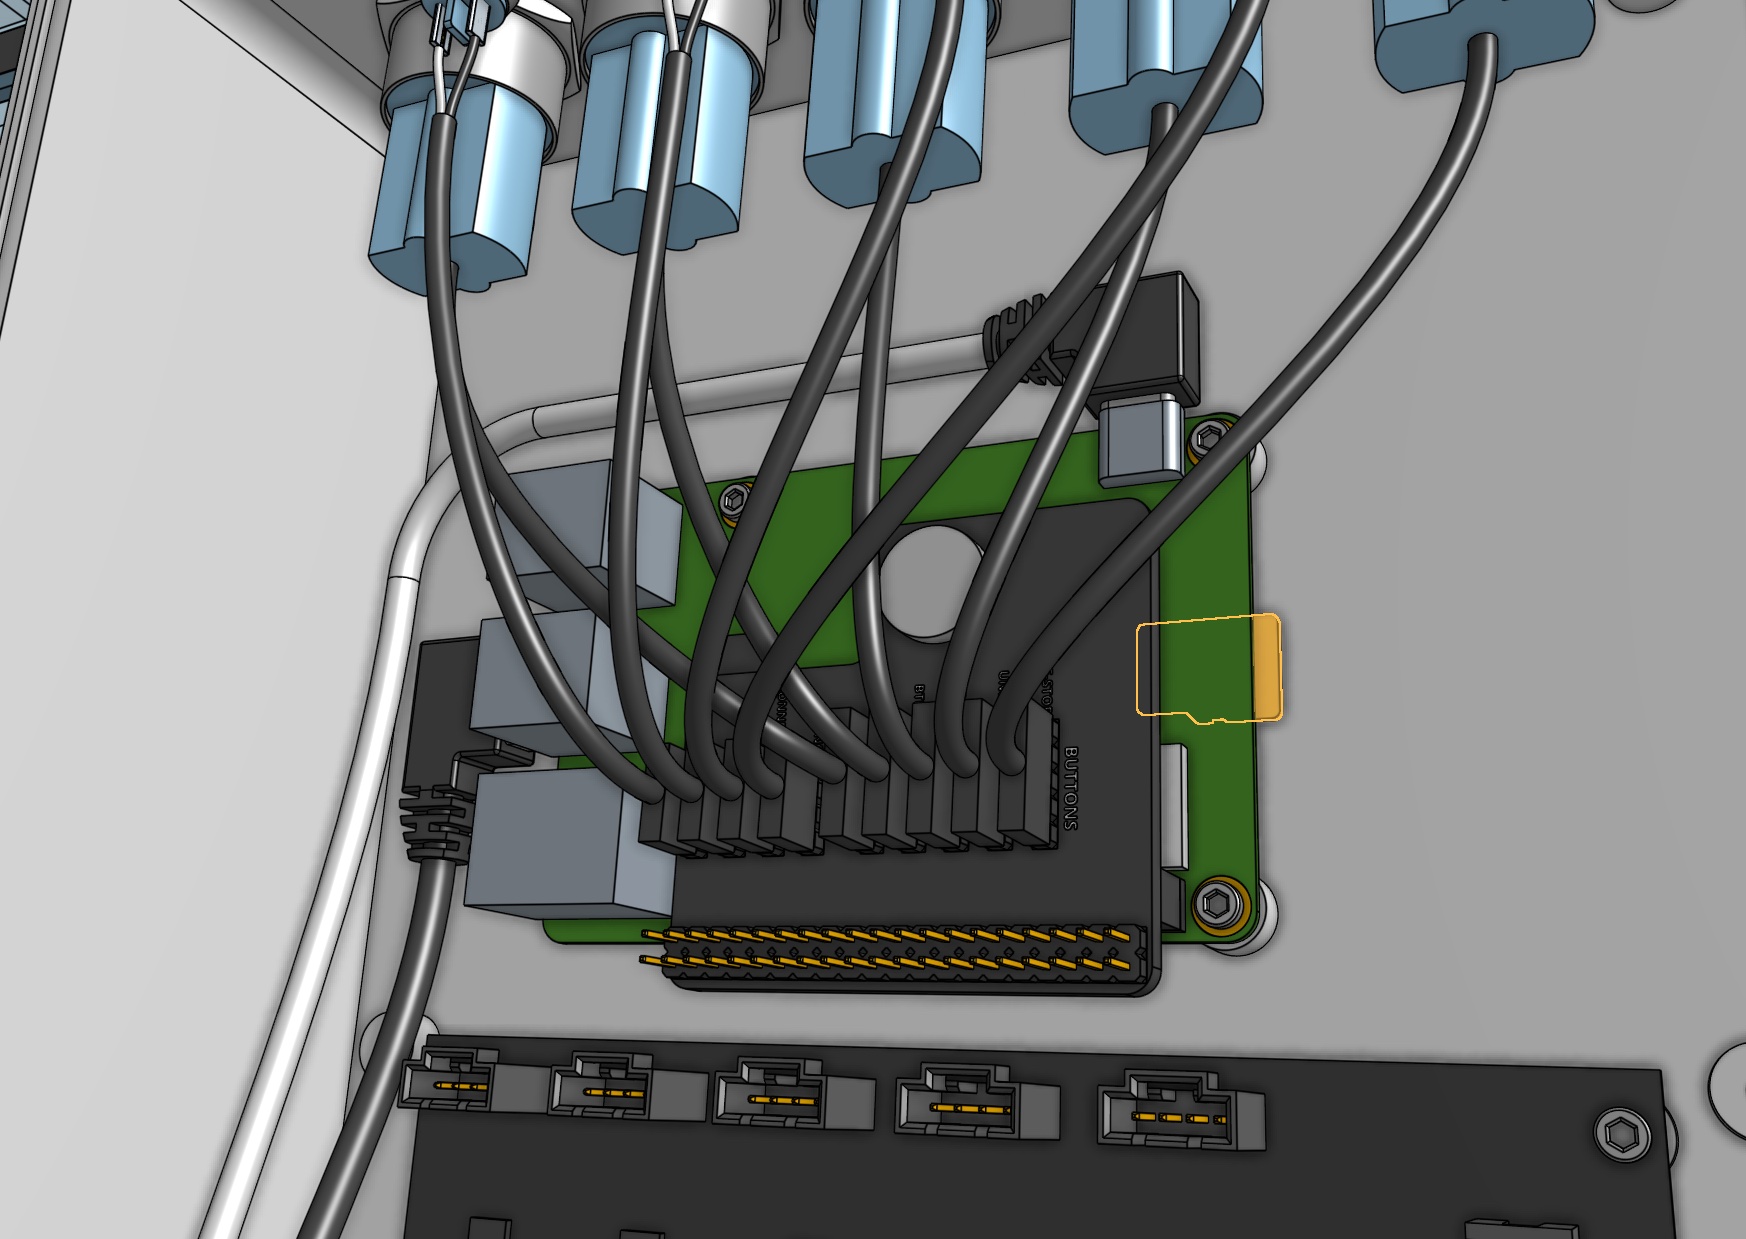
Insert the microSD card into the Raspberry Pi. The card slot location will differ depending on the FarmBot kit you have.
Genesis kits
For Genesis kits, the card slot is located on the back side of the Raspberry Pi, on the right-hand edge. You do not need to remove the Raspberry Pi from the electronics box to insert the card; we have left enough access room.
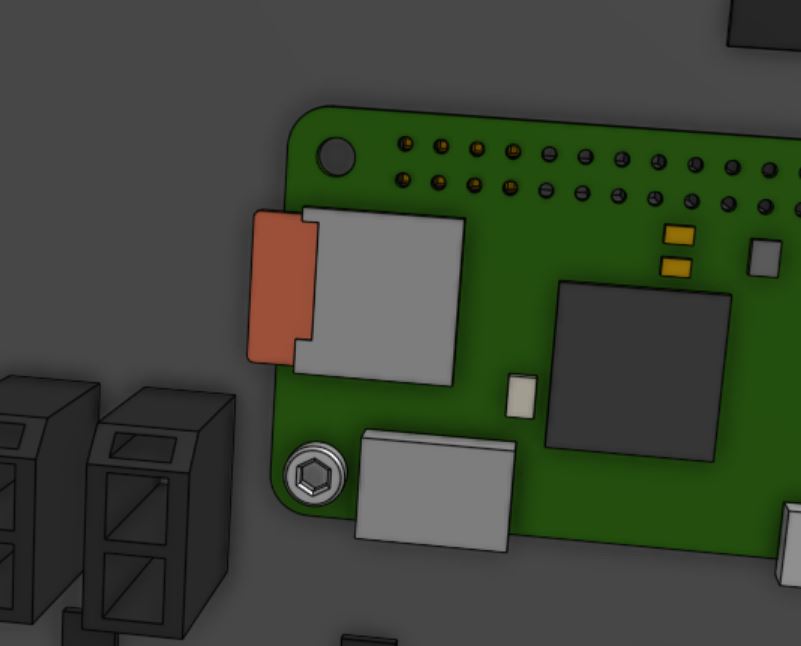
Express kits
For Express kits, the card slot is located on the front side of the Raspberry Pi, on the left-hand edge.
Step 4. Plug in the power source
Plug your FarmBot’s power supply into a wall outlet. You should now see a solid red LED and a steadily flashing green LED on the Raspberry Pi, indicating that the Pi has adequate power and is busy booting up. Refer to the status LEDs page for more information, especially if your LEDs are not lit up as described above.