Building a Sequence
Step 1: Create or select a sequence
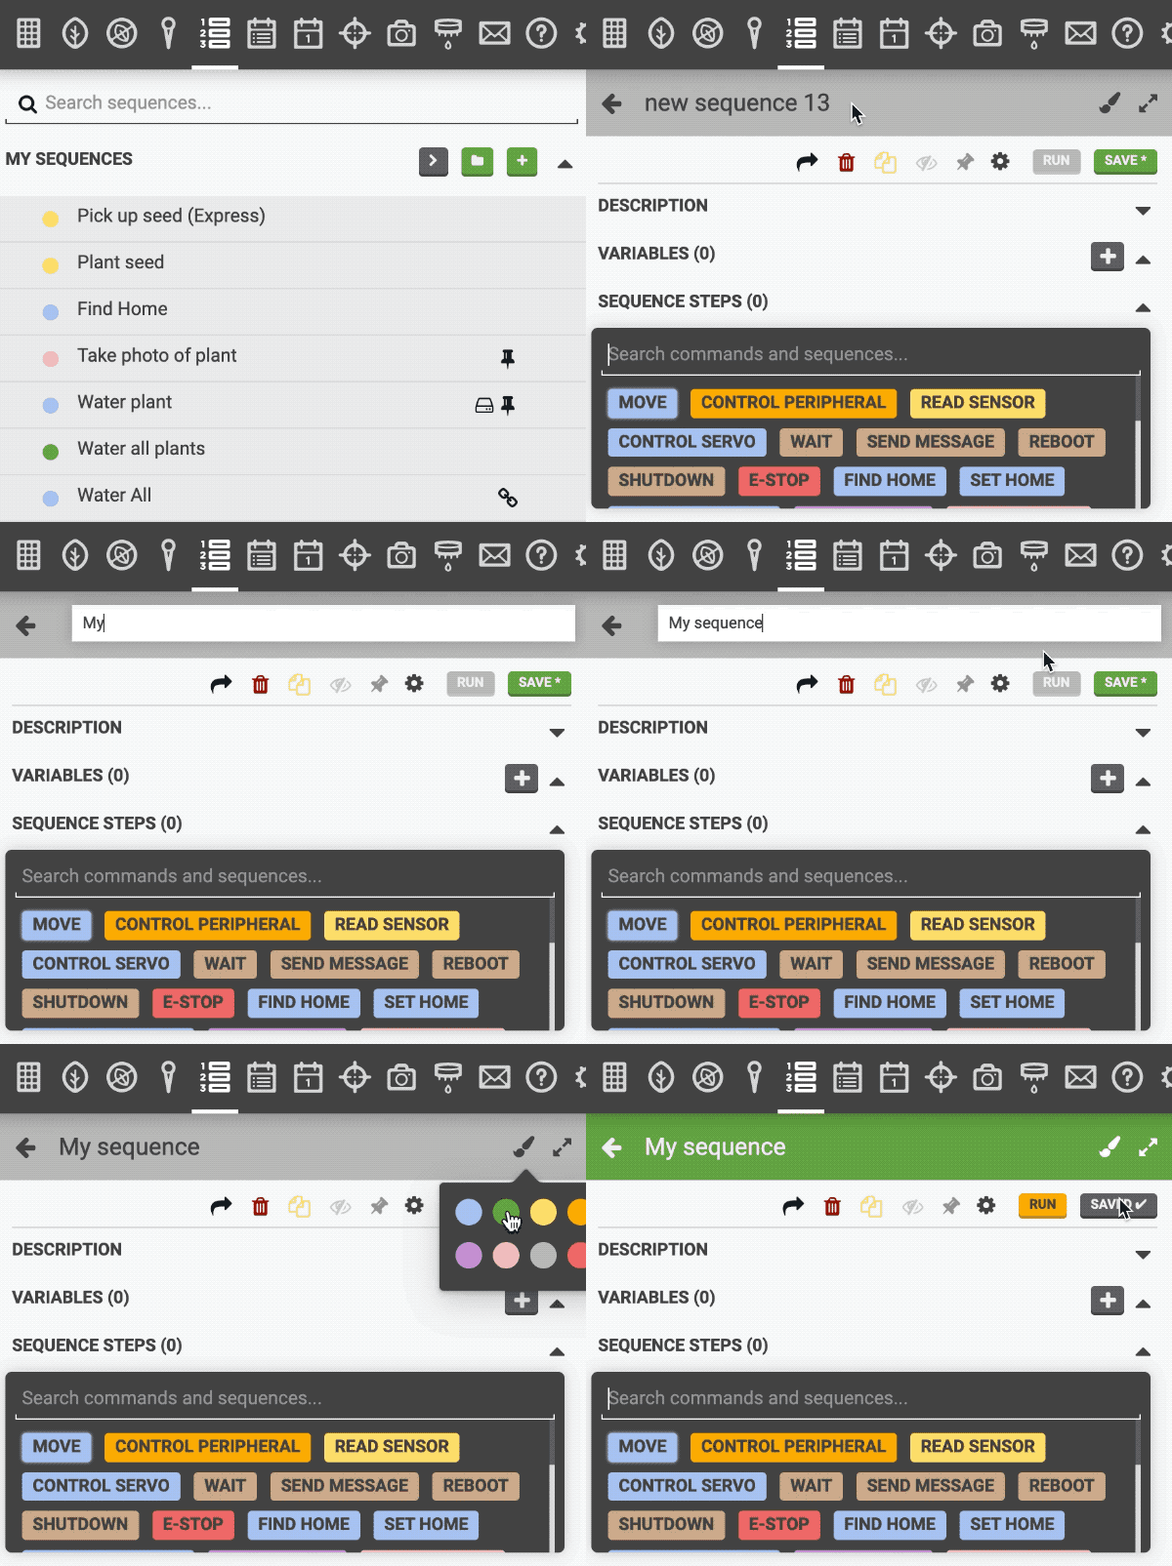
In the sequences panel, click the button to create a new sequence. Or, select an existing sequence if you would like to edit it. If you have many sequences, use the search box to find one more quickly.
Once a sequence has been created or selected, it will be loaded into the editor. Enter a unique Sequence name and optionally assign it a color by clicking the icon. The color will not affect FarmBot’s execution of the sequence, it is only for helping you organize and recognize your own sequences.
Step 2: Add commands
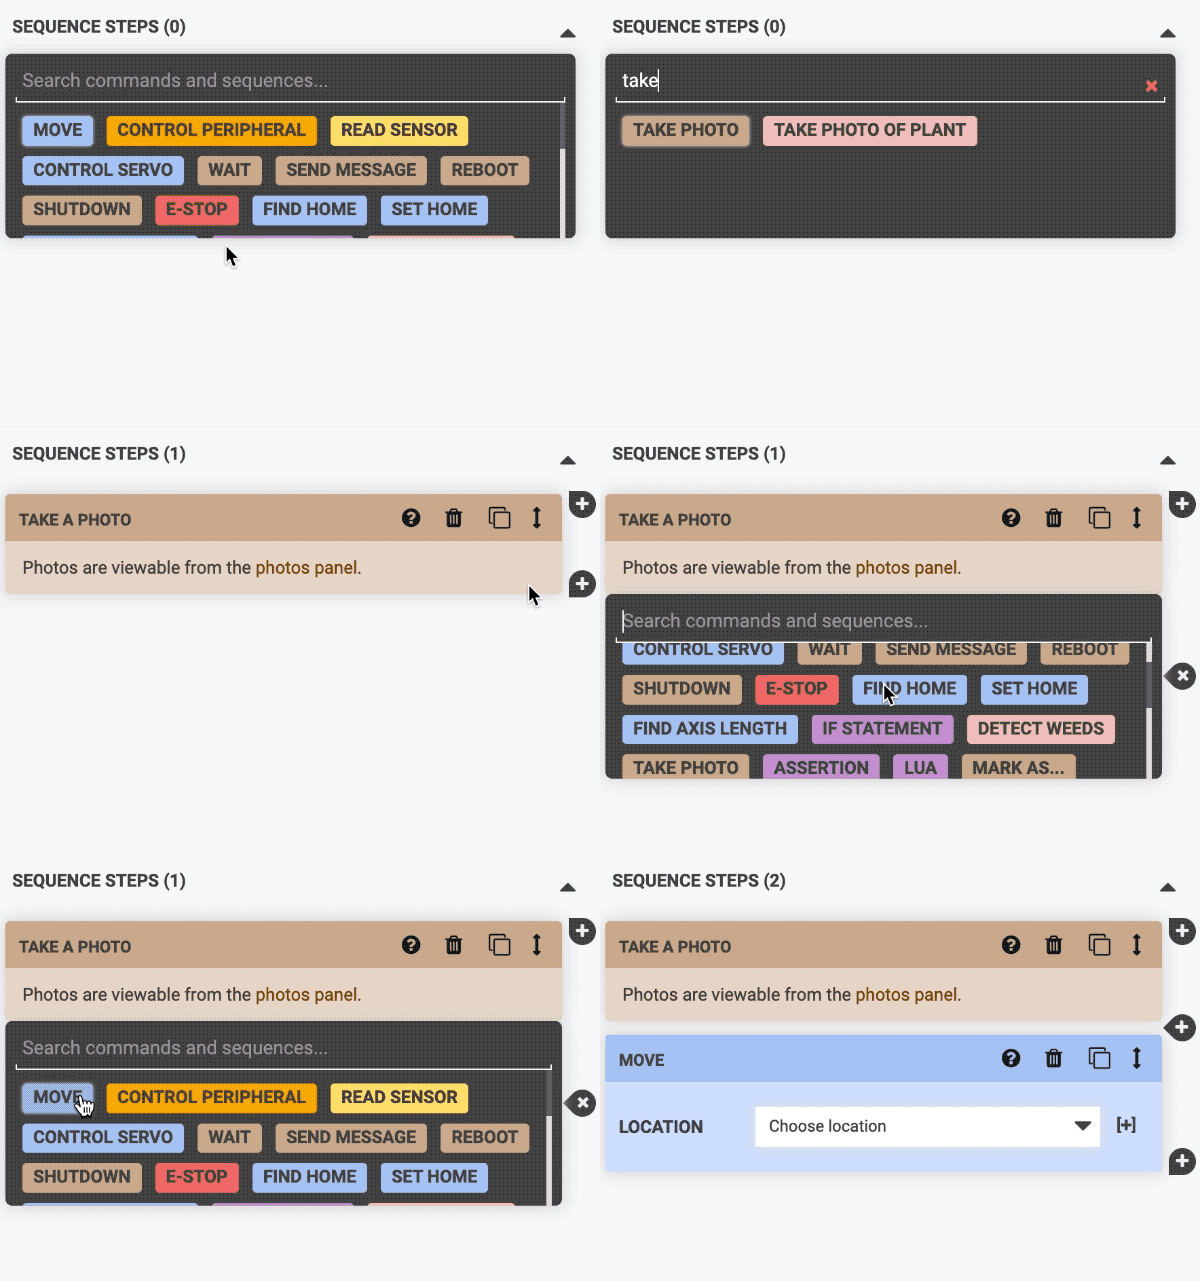
Add the first command (or another sequence) to your sequence by scrolling through the options available in the command palette or by using the search bar. Click a button to open the command palette to add an additional sequence step at that location.
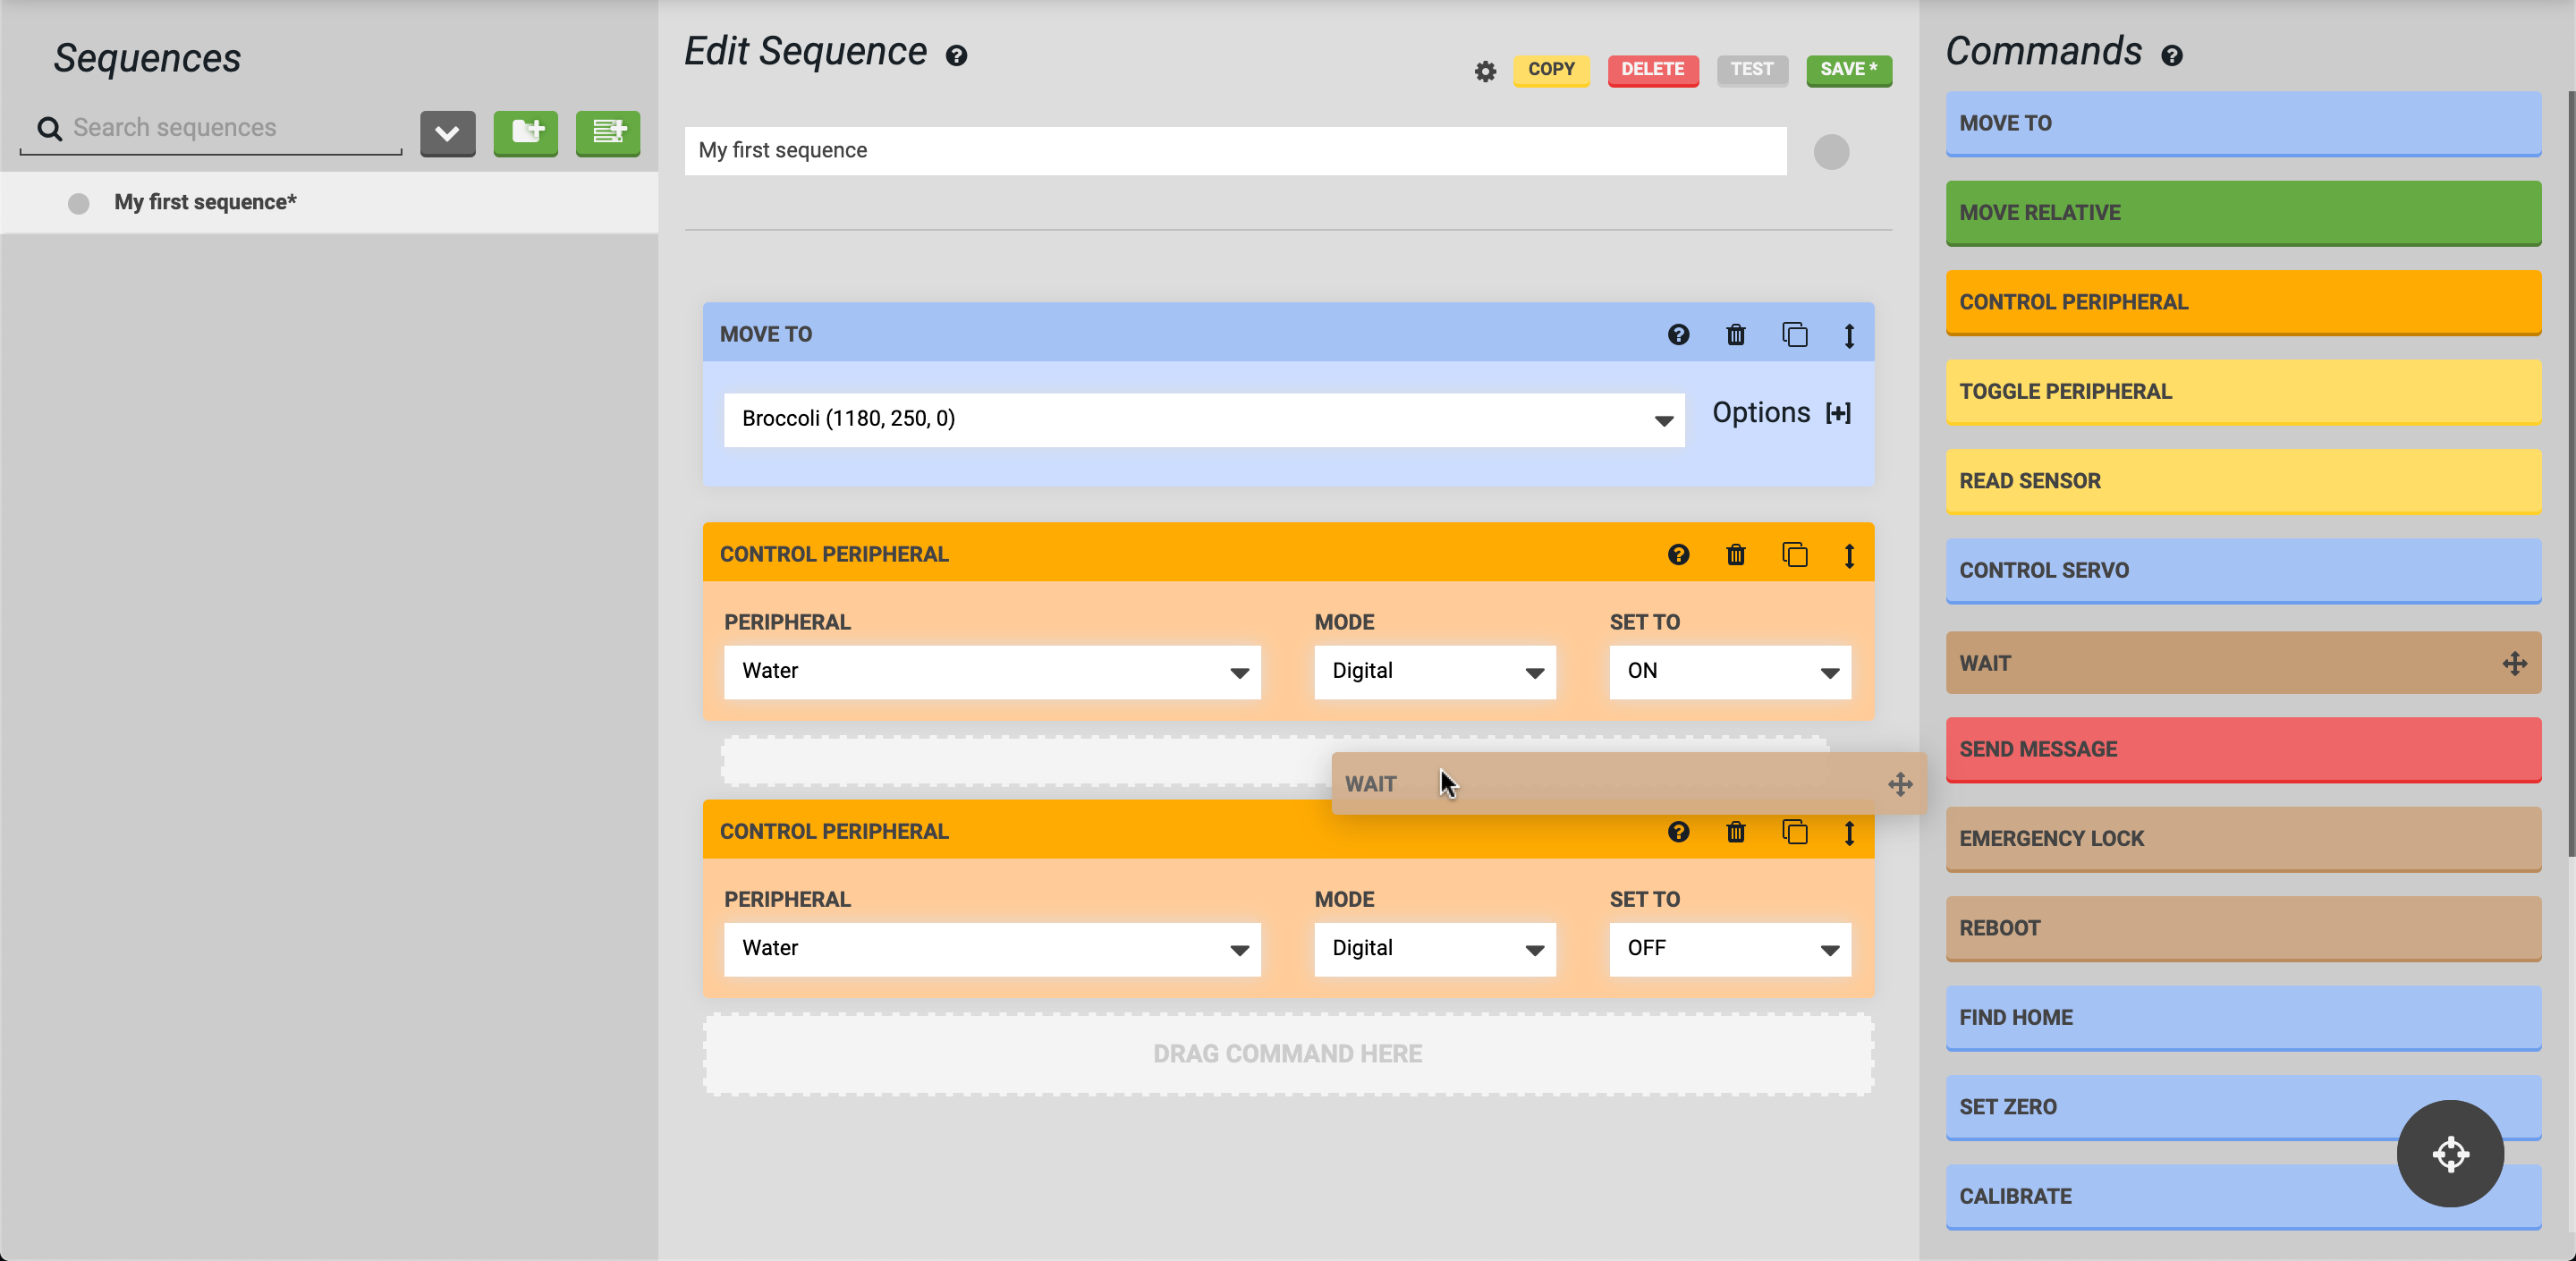
On large screens, you may press the icon to open the sequence in a full-screen editor. From the full-screen editor you can add commands by dragging and dropping them from the commands panel into the edit sequence panel. When dragging and dropping, you can add the new command to the top, bottom, or somewhere in the middle of the sequence. Alternatively, you can click a command and it will be added to the bottom of the sequence.
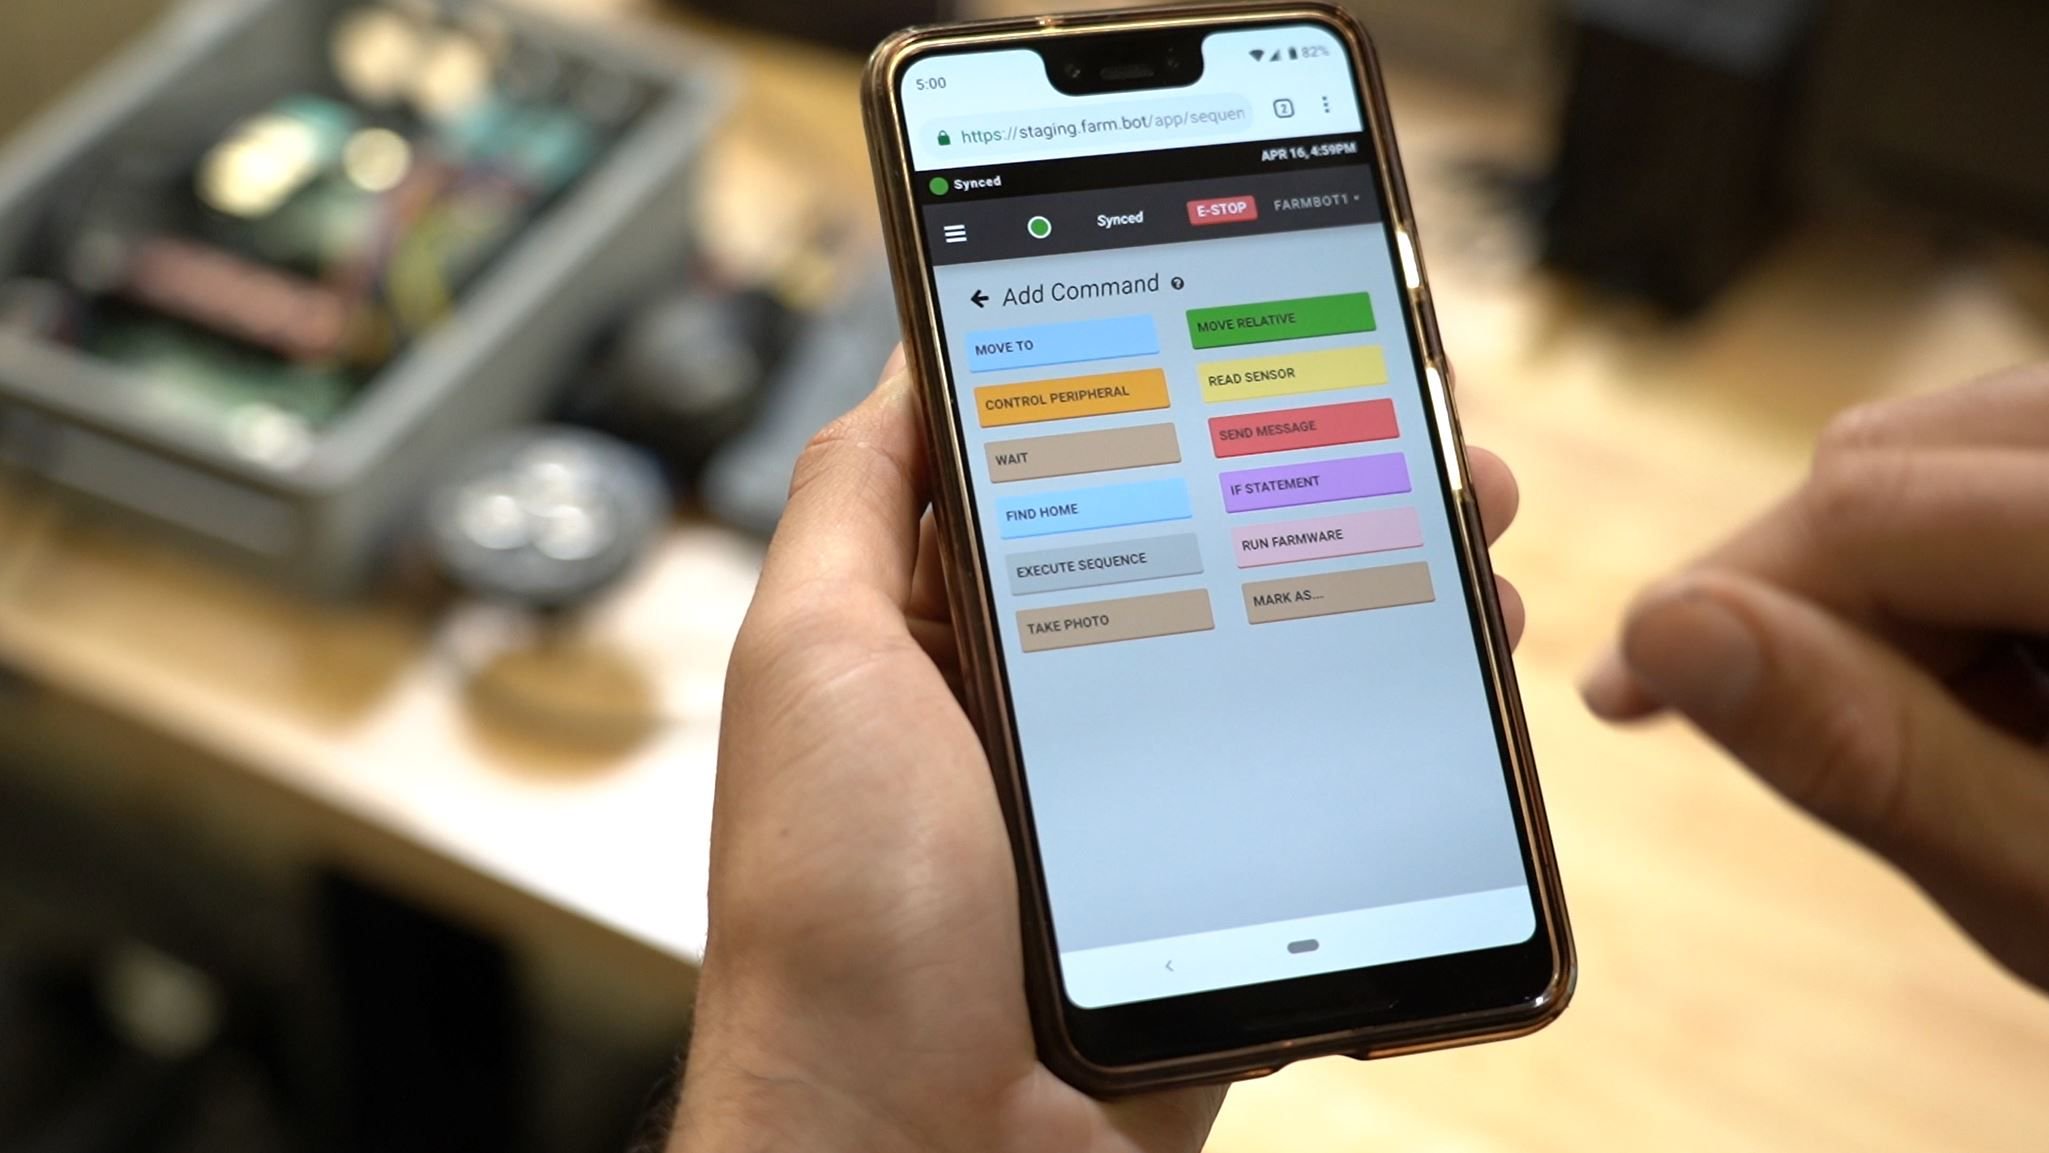
The drag and drop functionality of the full editor does not work on touchscreens. However, sequence editing can be performed on-the-go with just tapping and the default interface.
Step 3: Define step parameters
For each step (command) in the sequence, enter in your desired parameter values. Some parameters such as SPEED will have default values and do not need to be entered in every time. Other parameters require a value to be added or chosen every time.
We check your work
If you try to save a sequence without values for all of the required parameters for each step, an error will be shown. You can then go back and provide values and try to save again.
Step 4: Use the step control icons
Each step in a sequence has a cluster of control icons in the top right:
| Icon | Function |
|---|---|
| Clicking or hovering will bring up a tooltip with information about how to use the command. | |
| Clicking will delete the step from the sequence. | |
| Clicking will duplicate the step and all of its parameter values. The copy will be inserted directly below the original. | |
| Clicking and dragging will allow you to drag and drop the step to another location in the sequence. Just clicking will show a popup with and icons. Clicking one of these will move the step up or down one position in the sequence. These controls are especially useful when using a touchscreen that doesn’t work with drag-and-drop functionality. | |
| Clicking will open the linked sequence used in an Execute command. | |
| Clicking toggles between the fancy and basic text editors in a Lua command. | |
| Clicking toggles between the default view of the command and the raw code version of the command. Only available if the VIEW CELERYSCRIPT sequence editor option is set to YES. | |
| Clicking will show any warnings or problems with the currently configured step. |
Step 5: Name each step
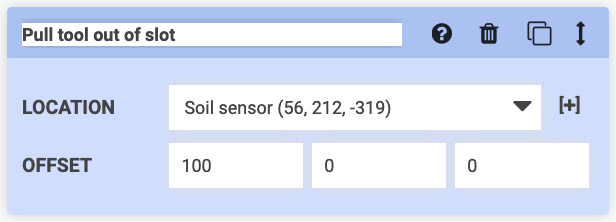
You can rename each sequence step by clicking on its name and typing in something new. While this is optional, naming each step with some descriptive text can allow you to easily remember what each step is for when you look at the sequence again tomorrow, or in a few months. It might also be useful if multiple people use the same FarmBot account, such as in a school setting, so everyone can understand what each sequence does.
Step 6: Use AI to write the sequence name and description
If you’ve got writer’s block giving your sequence a name and useful description, click the magic wand buttons to have an AI write these for you as well as choose a fitting color for your sequence. Colors will be chosen based on the primary interpreted concern of the sequence:
- Red for removing weeds or error conditions
- Green for taking care of plants
- Yellow for lights
- Blue for watering
- Orange for warnings
- Purple for logic, data manipulation, or using 3rd party APIs
- Pink for taking photos, detecting weeds, or measuring soil height
- Gray if the sequence is neutral in its action or there is not a clear primary concern
Step 7: Save
Whenever a sequence has unsaved changes, an asterisk (*) will be shown next to the sequence name in the sequence list, and in the button. When you are finished editing, click to save the sequence. Once saving is complete, the button will show as .