Pin Bindings
Trigger actions and sequences with physical buttons or additional sensors Open these settings in the app
Pin bindings allow electrical signals from a button or sensor to trigger a FarmBot action or sequence. For example, a red button could be used to trigger the action as recommended with FarmBot Genesis v1.4+ kits. For practical examples, see our use FarmBot’s buttons how-to guide.

Adding a pin binding
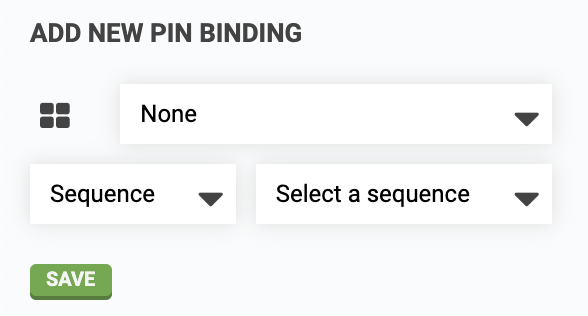
To add a pin binding, first select the Raspberry Pi GPIO PIN NUMBER that your button or sensor is connected to (open the GPIO diagram for assistance by pressing the icon). Next, choose the type of BINDING (either Sequence or Action) and then select the TARGET (the sequence or action desired). Press to save the pin binding.
Upon saving a pin binding, the action or sequence you chose will be triggered once automatically so that you can verify the result.
Warning
Binding to a pin without a physical button and pull-down resistor connected may put FarmBot into an unstable state.
Notes
- Sequences must be synced to the device before use in a pin binding.
- Buttons should be connected between the selected pin and +3.3v.
Deleting a pin binding
To delete a pin binding, press the button.