Gardens
Replant the same garden season after season ![]()
![]()
![]()
![]() Open this panel in the app
Open this panel in the app
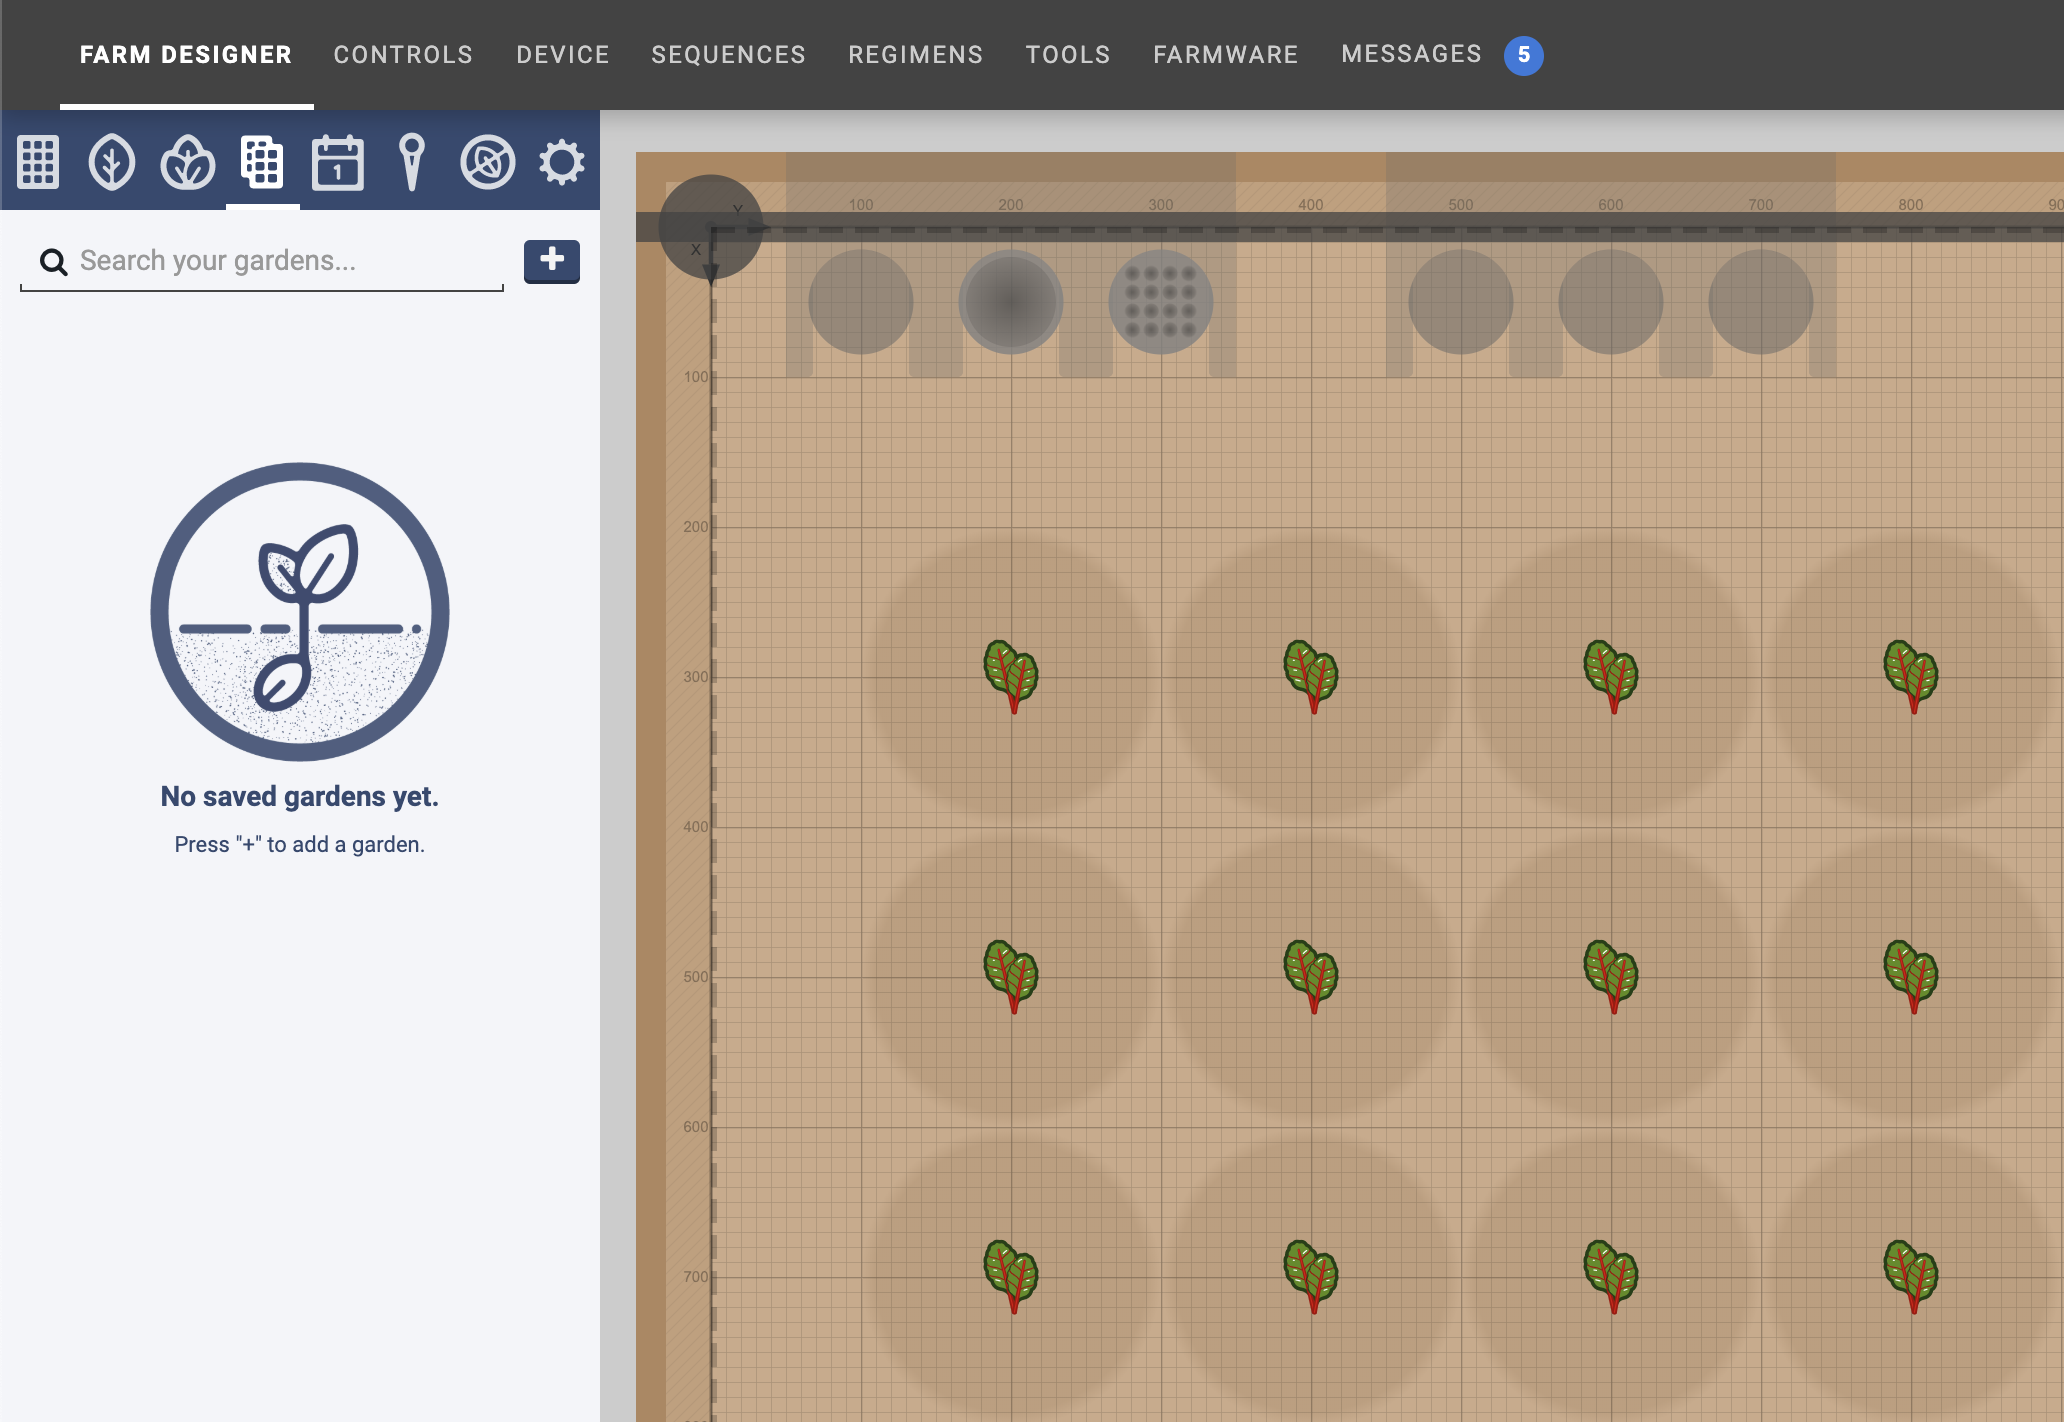
The gardens feature allows you to save a garden (all of the plants and their locations) for re-use at a later time. This can be especially useful if you want to have different gardens for each season.
Save a garden
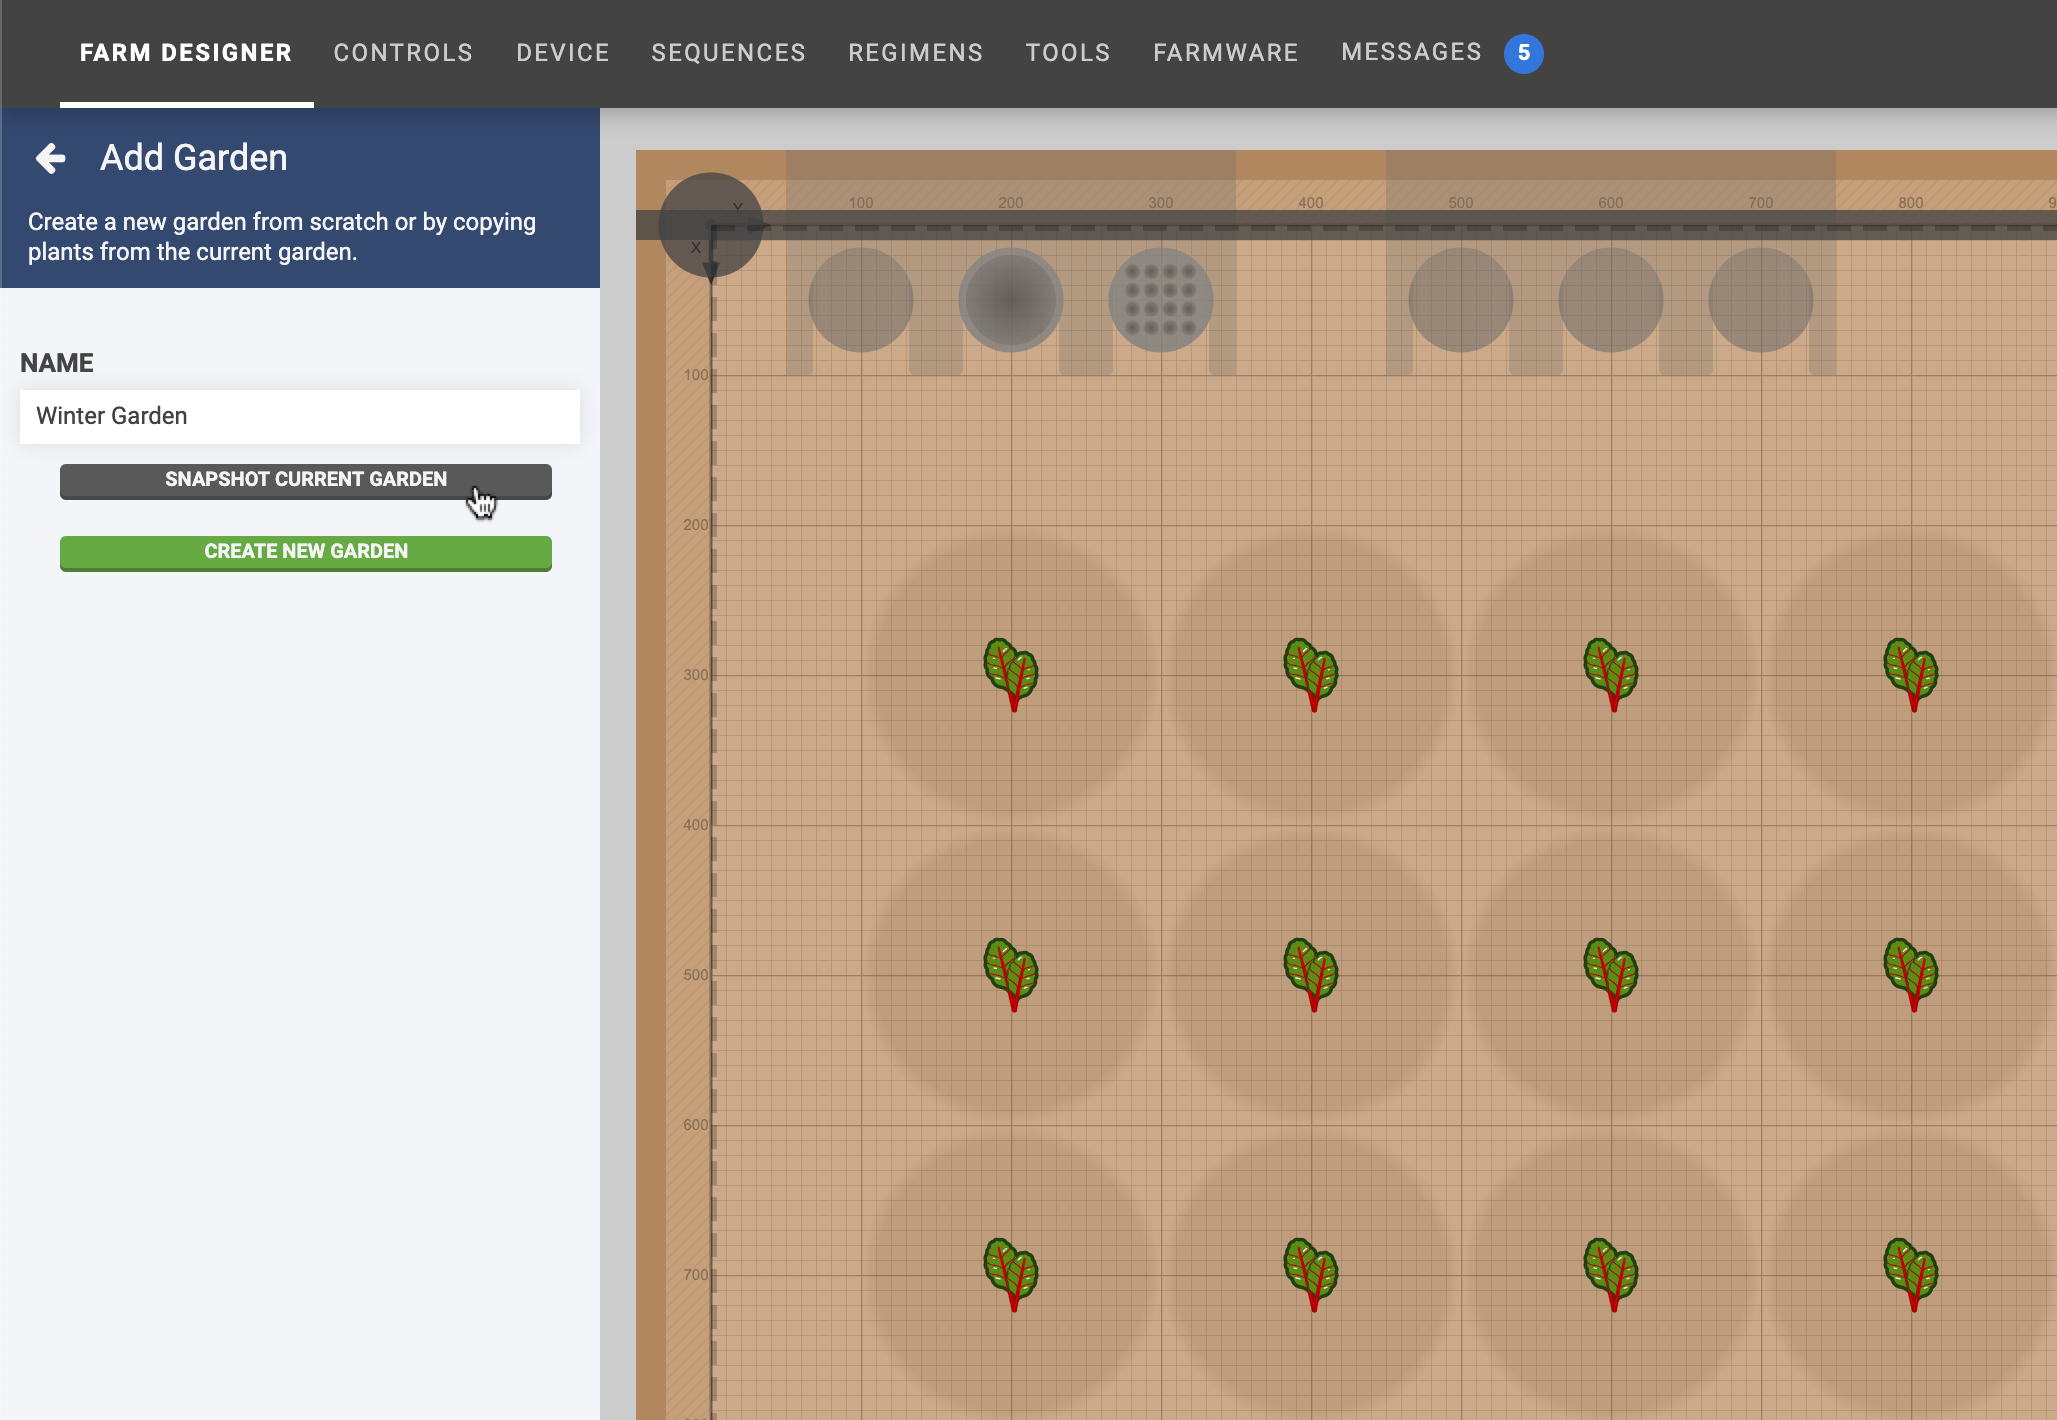
To save the current garden, first navigate to the gardens panel and click the button.

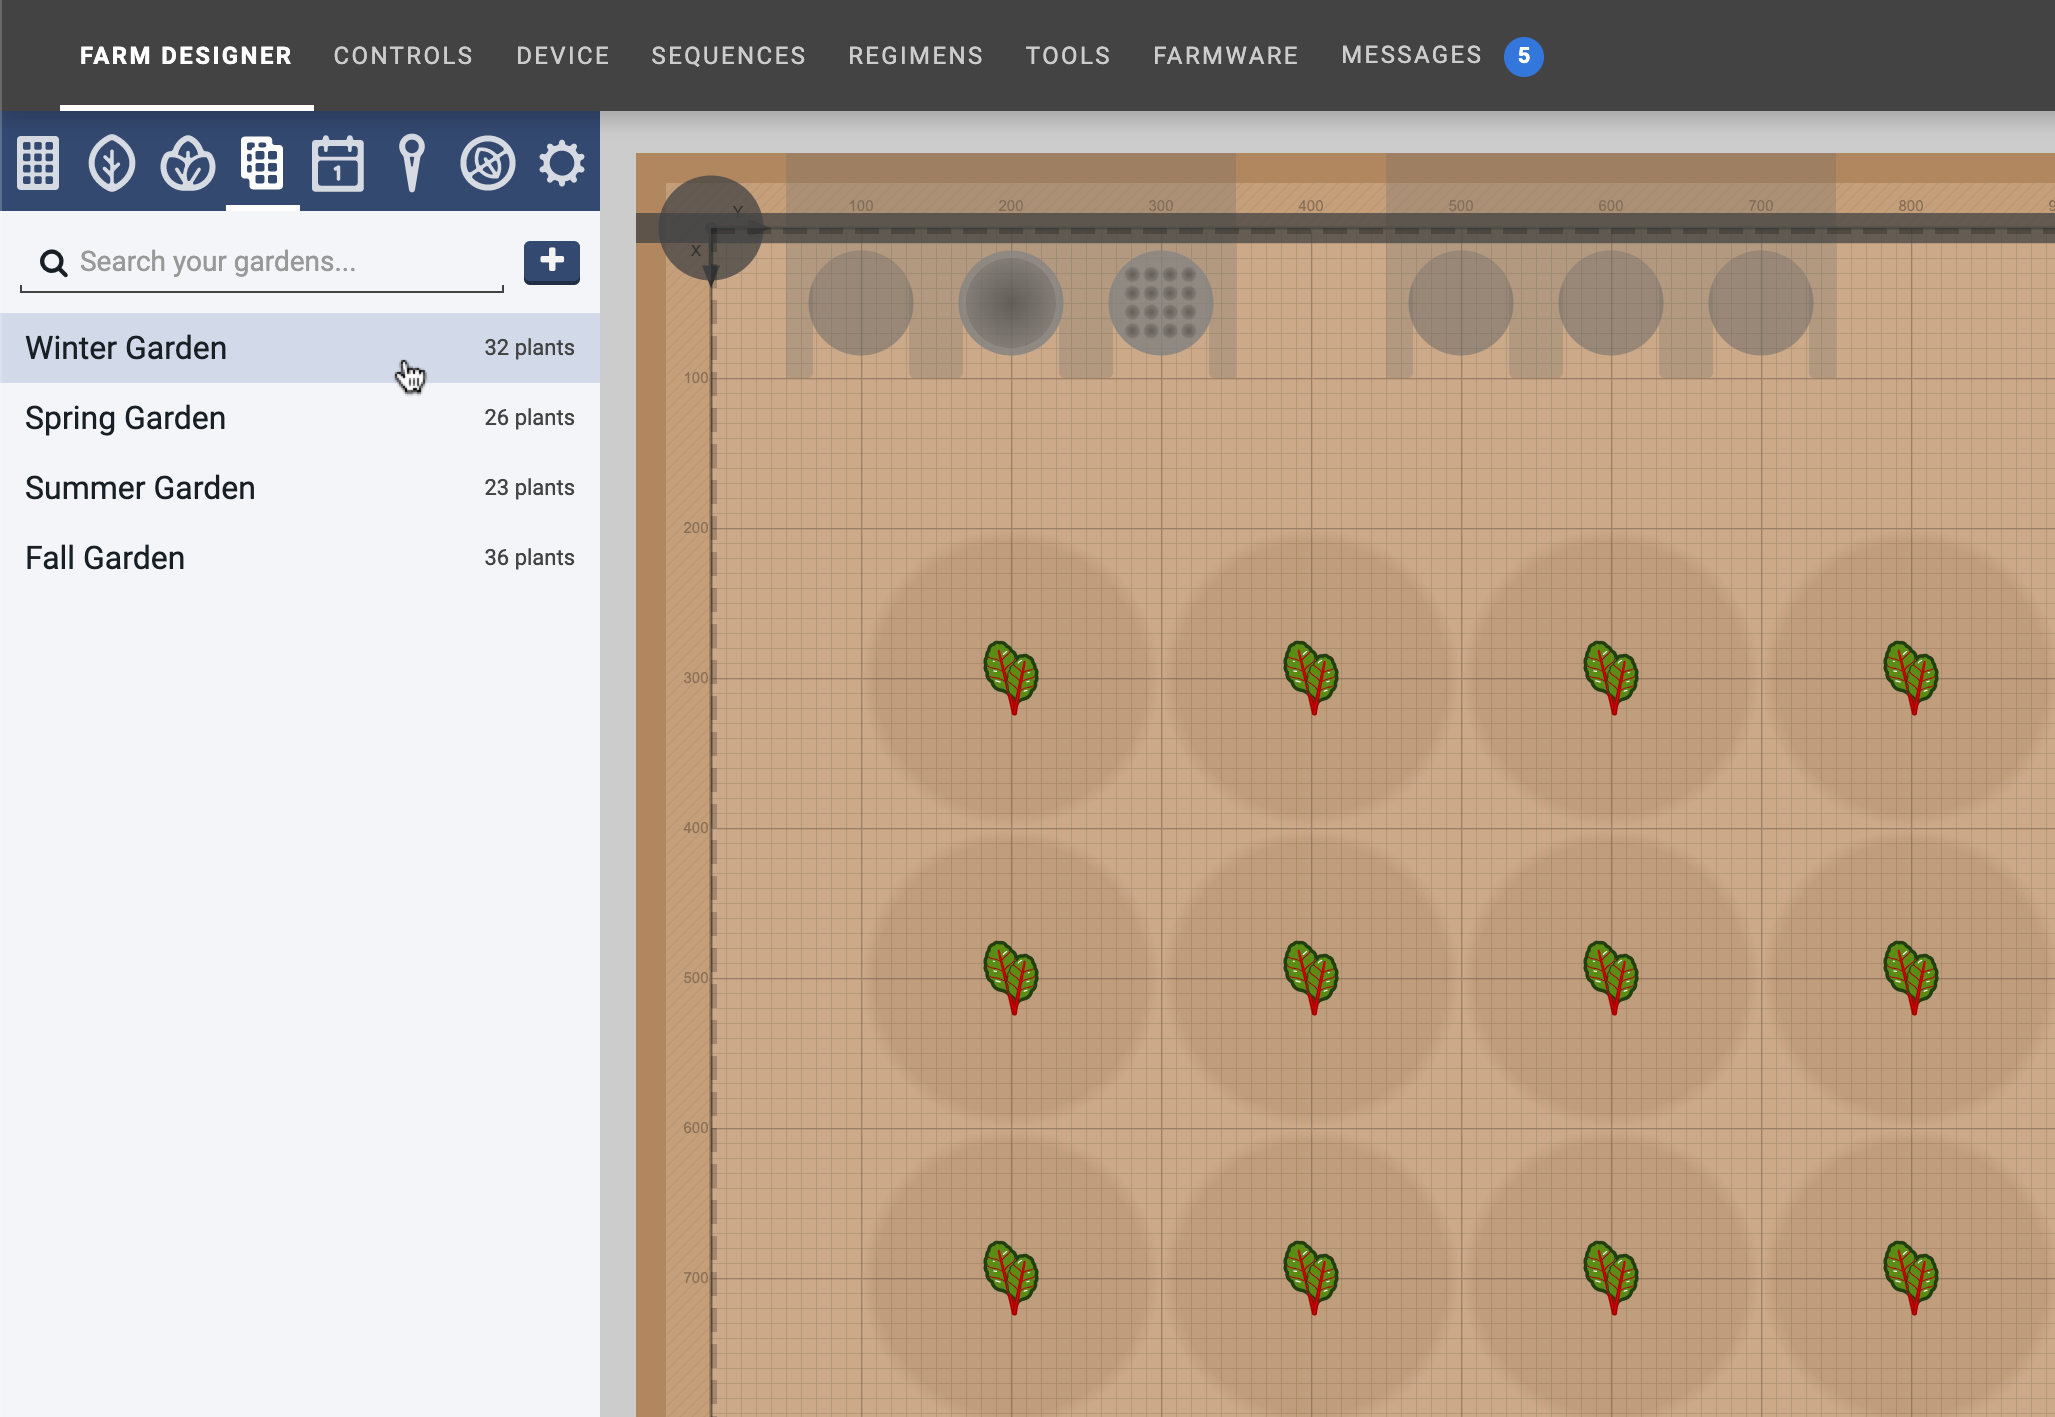
Enter a NAME and click . A copy of the garden will then be saved and shown in the list of gardens.
📘
Saving a garden may take a moment depending on the number of plants.

View and edit gardens
Navigate to the gardens panel and select a garden.

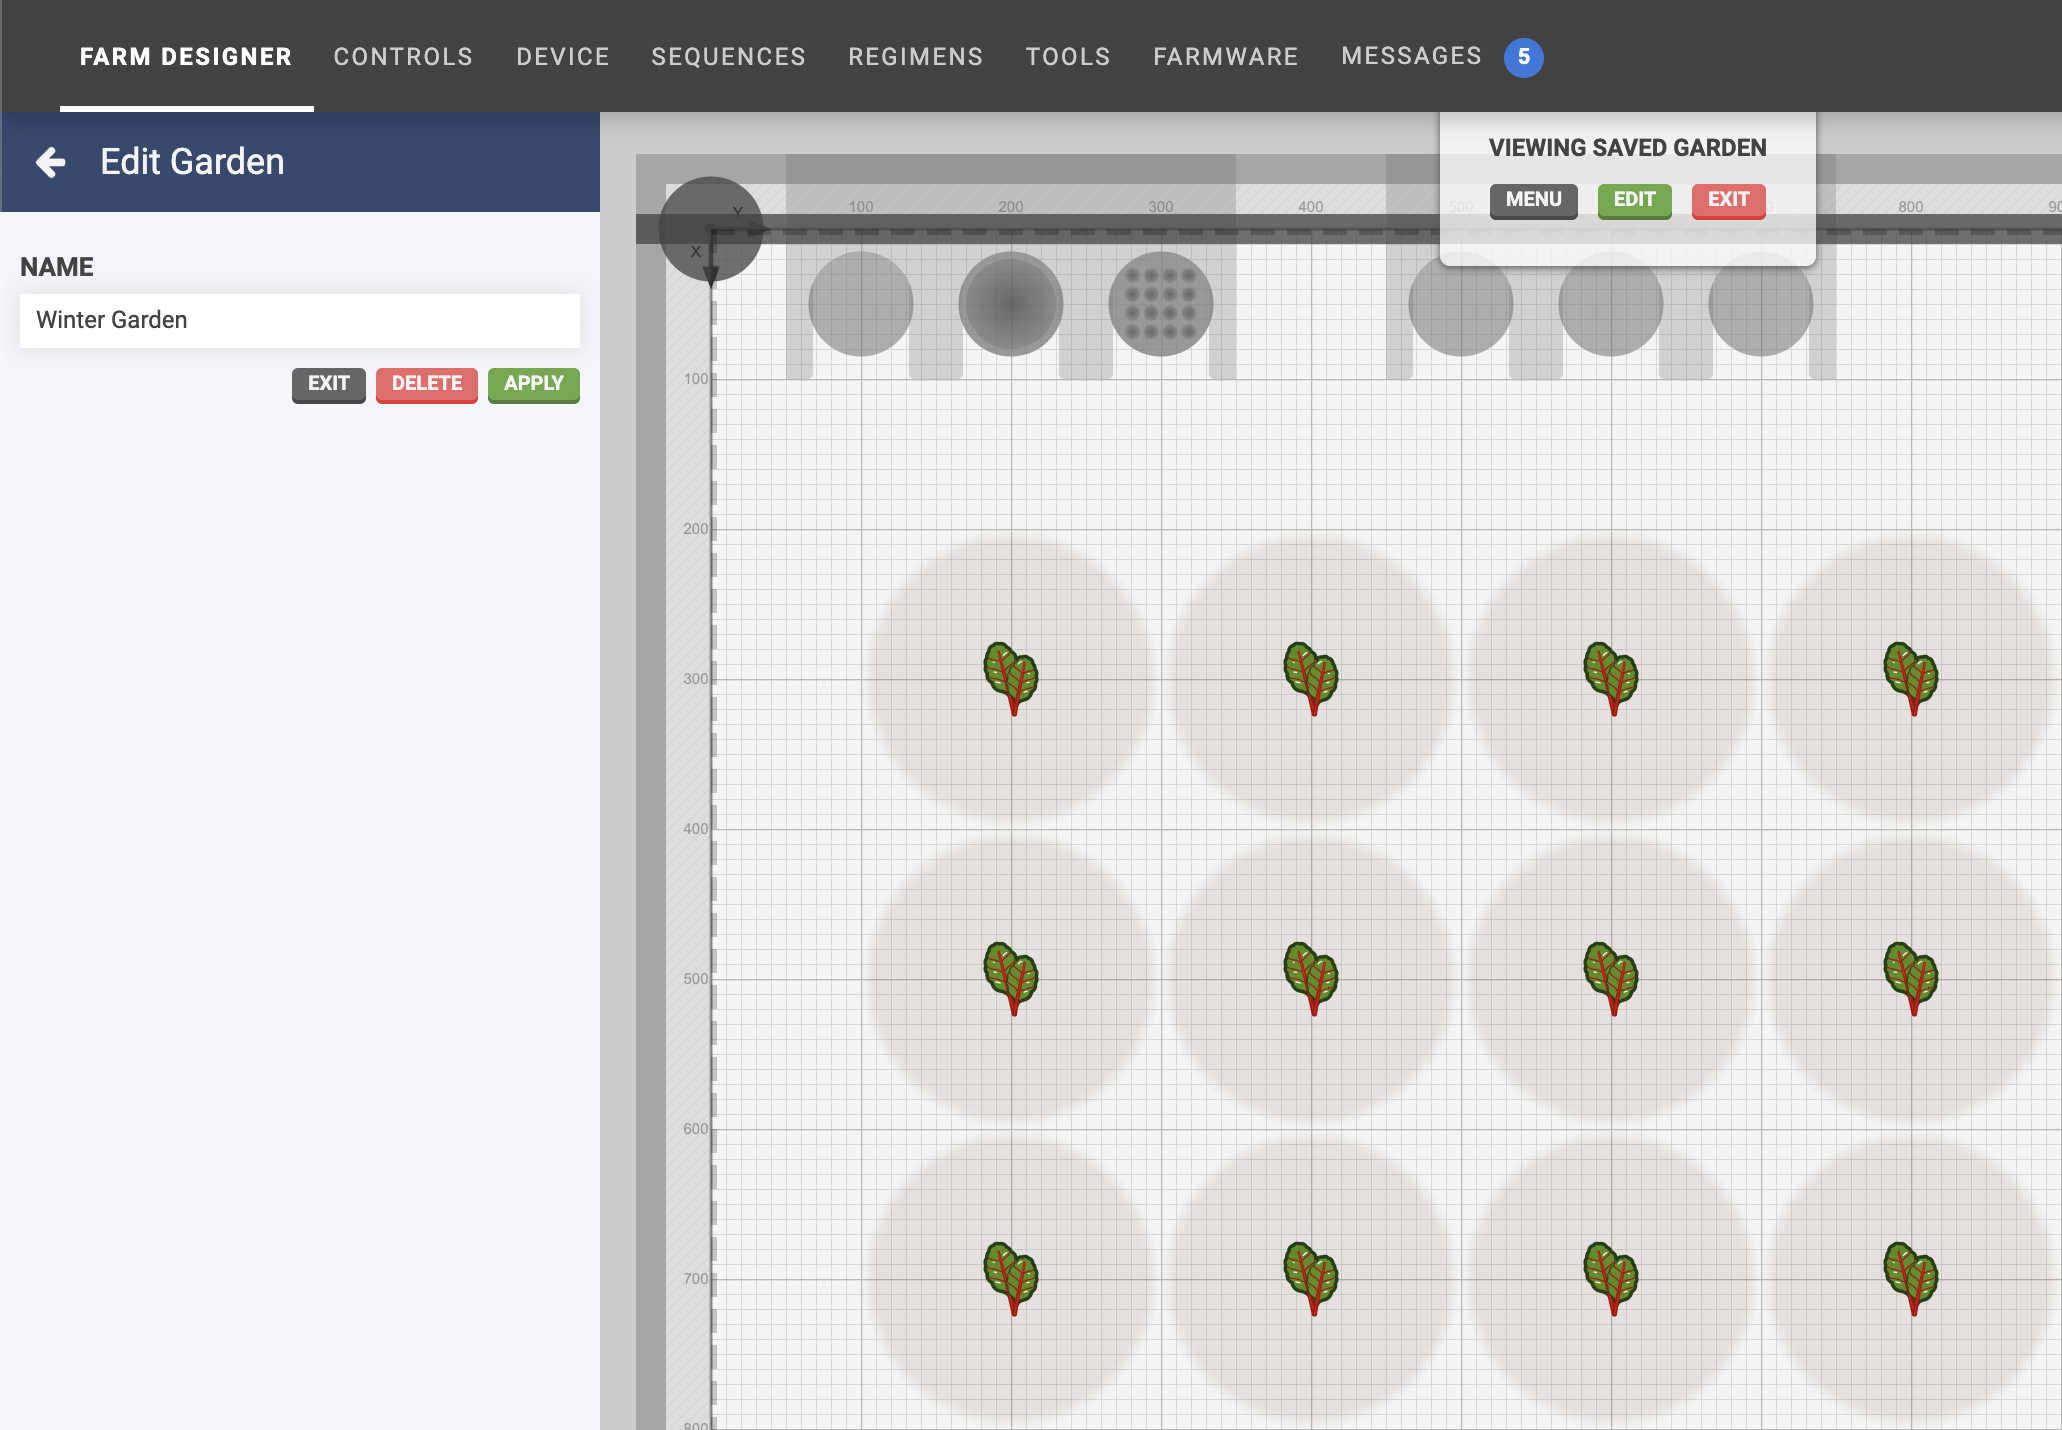
This will load the garden into the map allowing you to view it, as well as add, re-locate, and delete plants from the garden. The map background will be displayed gray to indicate a saved garden (rather than the current garden) is being displayed and edited.

Once you are finished viewing and editing, click the button located in the saved gardens panel, or the button located in the VIEWING SAVED GARDEN menu at the top of the map area.
Applying a garden
If you are ready to use one of your gardens, you must apply it to an empty map. First, delete all plants from the current garden (the one that is shown when you load the app). You can do this quickly by using the multi-select mode and button.
Once the current map is empty, navigate to the gardens panel, select a garden, and click .
📘
Applying a garden may take a moment depending on the number of plants.