Creating an Account
- Go to my.farm.bot
- Enter an Email, Name, and Password in the CREATE AN ACCOUNT widget
- Check that you agree to our privacy policy and terms of use
- Click
- Check your email and click the link to confirm your account
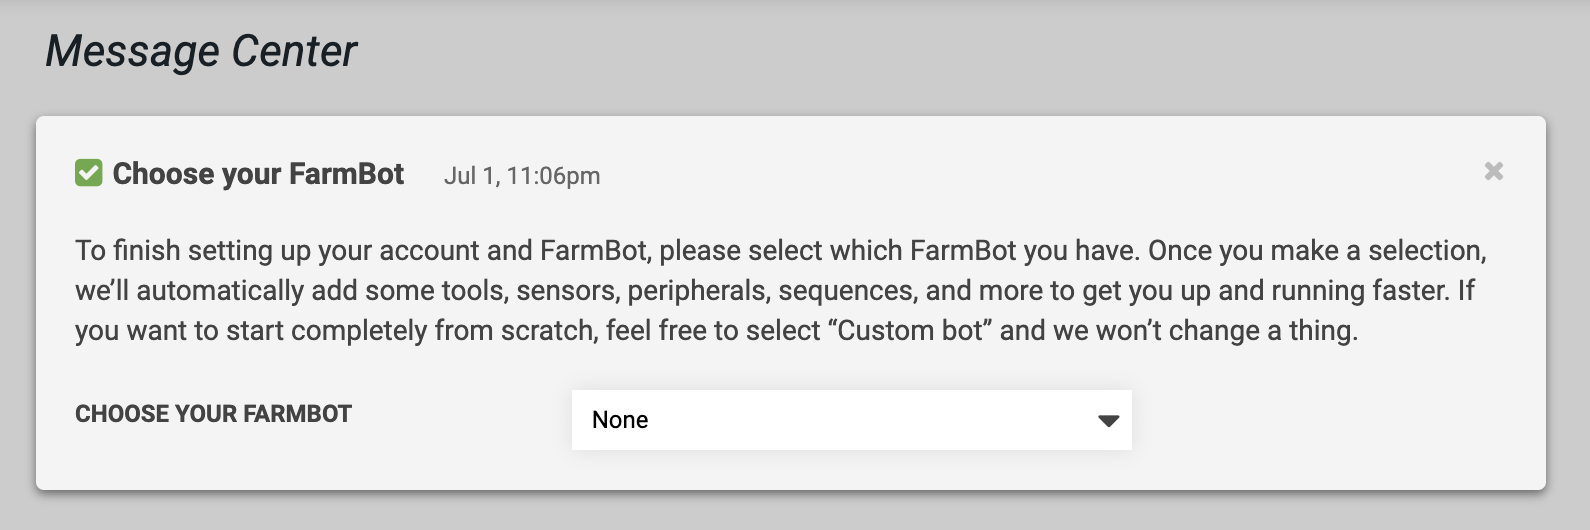
Choose your FarmBot
Clicking the email verification link will log you into the app and take you to the message center. Here, you’ll see a few messages to help you become familiar with the app, as well as one to Choose your FarmBot.
Once you let the app know which FarmBot model you have, it will add a set of resources (peripherals, sequences, etc) and apply a set of settings (map size, firmware version, etc) appropriate to your FarmBot model. This will allow you to get started working with your FarmBot more quickly. If you want to start completely from scratch, you can do so by selecting Custom bot in the dropdown, or simply dismissing the message center card.

Connect FarmBot to your account
- Install FarmBot OS
- Configure FarmBot with the same email and password you used to create your web app account
- Go to my.farm.bot and log in
Can you hear me now?
The web application should now be in communication with your FarmBot. You should see some bootup logs streaming into the status ticker, and FarmBot should respond to any commands you send it. If there are any problems, see the troubleshooting guide.
Using a demo account
If you’re thinking about getting a FarmBot but want to try the app first, you can use our demo account feature. Simply go to demo.farm.bot and click at the bottom of the screen. The demo can be tried on desktop computers, laptops, tablets, and phones.
Not all features of the app will work in demo mode because there will not be a real FarmBot connected to the account. Additionally, keep in mind that demo accounts and their data are automatically deleted after 1 hour.