Sensors
Manually read FarmBot’s sensors 🌡️ Open this panel in the app
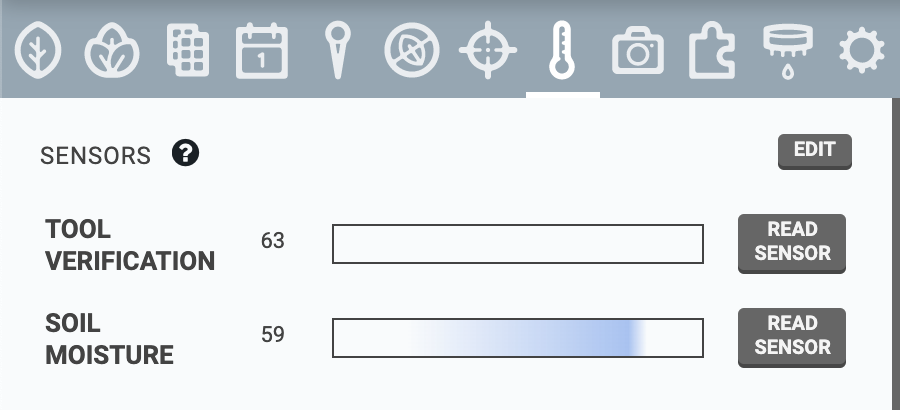
The sensors panel allows you to manage FarmBot’s sensors, take measurements, and view historical sensor readings.
Not shown for all bots
If your FarmBot kit did not include any sensors (Express v1.0 kits), then the sensors panel will not be shown in the app. You can override this using the HIDE SENSORS setting.

Creating sensors
To create a new sensor, press , and then the button. To define the sensor, provide a Name, choose a Pin #, and specify if the sensor is Digital or Analog. Pressing will add all of the standard sensors included with your FarmBot kit.
Pin numbers are required and must be unique.
When finished editing, press .

Reading sensors
To manually read a sensor, press its button. FarmBot will then read the sensor and display the value in the widget. Digital sensors will provide a value of either 0 or 1, while analog sensors will provide a value between 0 and 1023.

You can also read sensors from sequences by using the READ SENSOR command. For more information, see the read sensor command documentation.
Historical readings
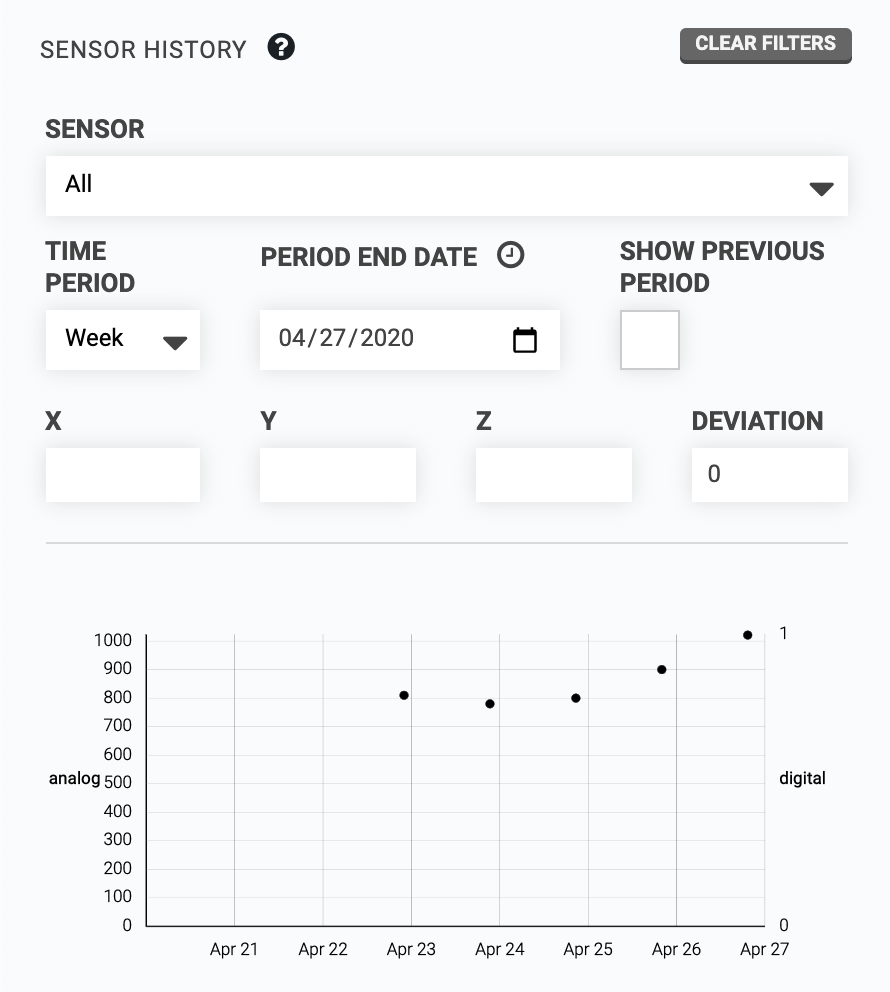
Use the SENSOR HISTORY section of the panel to view sensor readings from the past. Optionally, you can filter by SENSOR, TIME PERIOD, and/or X, Y, and Z coordinates. The DEVIATION field can be used to filter within a range of locations around the specified coordinates. To remove all current filters, press .

Deleting sensors
To delete a sensor, press and then the sensor’s button. Finish editing by pressing .
You cannot delete a sensor that is in-use by a sequence.
Hiding sensors
If you do not plan to use any sensors, use the HIDE SENSORS toggle in the app settings panel to remove the sensors panel.